
Reviving the Slash
I have not forgotten about the Slash. I ordered a new body from A-main, they sent the body to me, and I received it. However, I have been a bit derelict. This is not 100% my fault. Then again, it never is right? In fact, my goal this week was to have a video showcasing the new painted body. It was going to be great! I was going to have angelic choirs, trophy truck drivers, and monster truck drivers all lay hands on the painted body in the video. It would have been totally epic! Okay, I have not figured out how to get Chat GPT to make that video for me, but give it some time.
On a serious note, I had a bit of an incident last week. You know those things that sit in a utility closet that we take for granted? Well, mine felt unloved and forgot about the potty. We discovered some nasty brown water on the floor. Then my son confirmed it…thankfully, he didn’t make the brown water…. that would have been a MAJOR backslide…. he came out of the shower and said, “Who used all the hot water? Man, that shower was ice cold!” Yup, our water heater took a crap on the floor.
So, we spent the late afternoon cleaning it up, draining it, taking down cabinets because of how the water heater is situated, and then researching water heaters. My neighbor is a plumber, so he was incredibly helpful in this endeavor. I was going to go to Home Depot and get a Rheem. My neighbor said, “I hope you enjoy installing that on your own! Those Rheems might last you a month!” Apparently, as I poked around the interwebs, it was confirmed that you don’t want to install a Rheem. So, I went to Lowe’s, grabbed an AO Smith. Initially, I thought that it was made by Bradford White, but that is not true. They are made in different factories. I proceed on the confidence that AO Smith is supposed to be much better than Rheem. We will see…..
Today’s Project
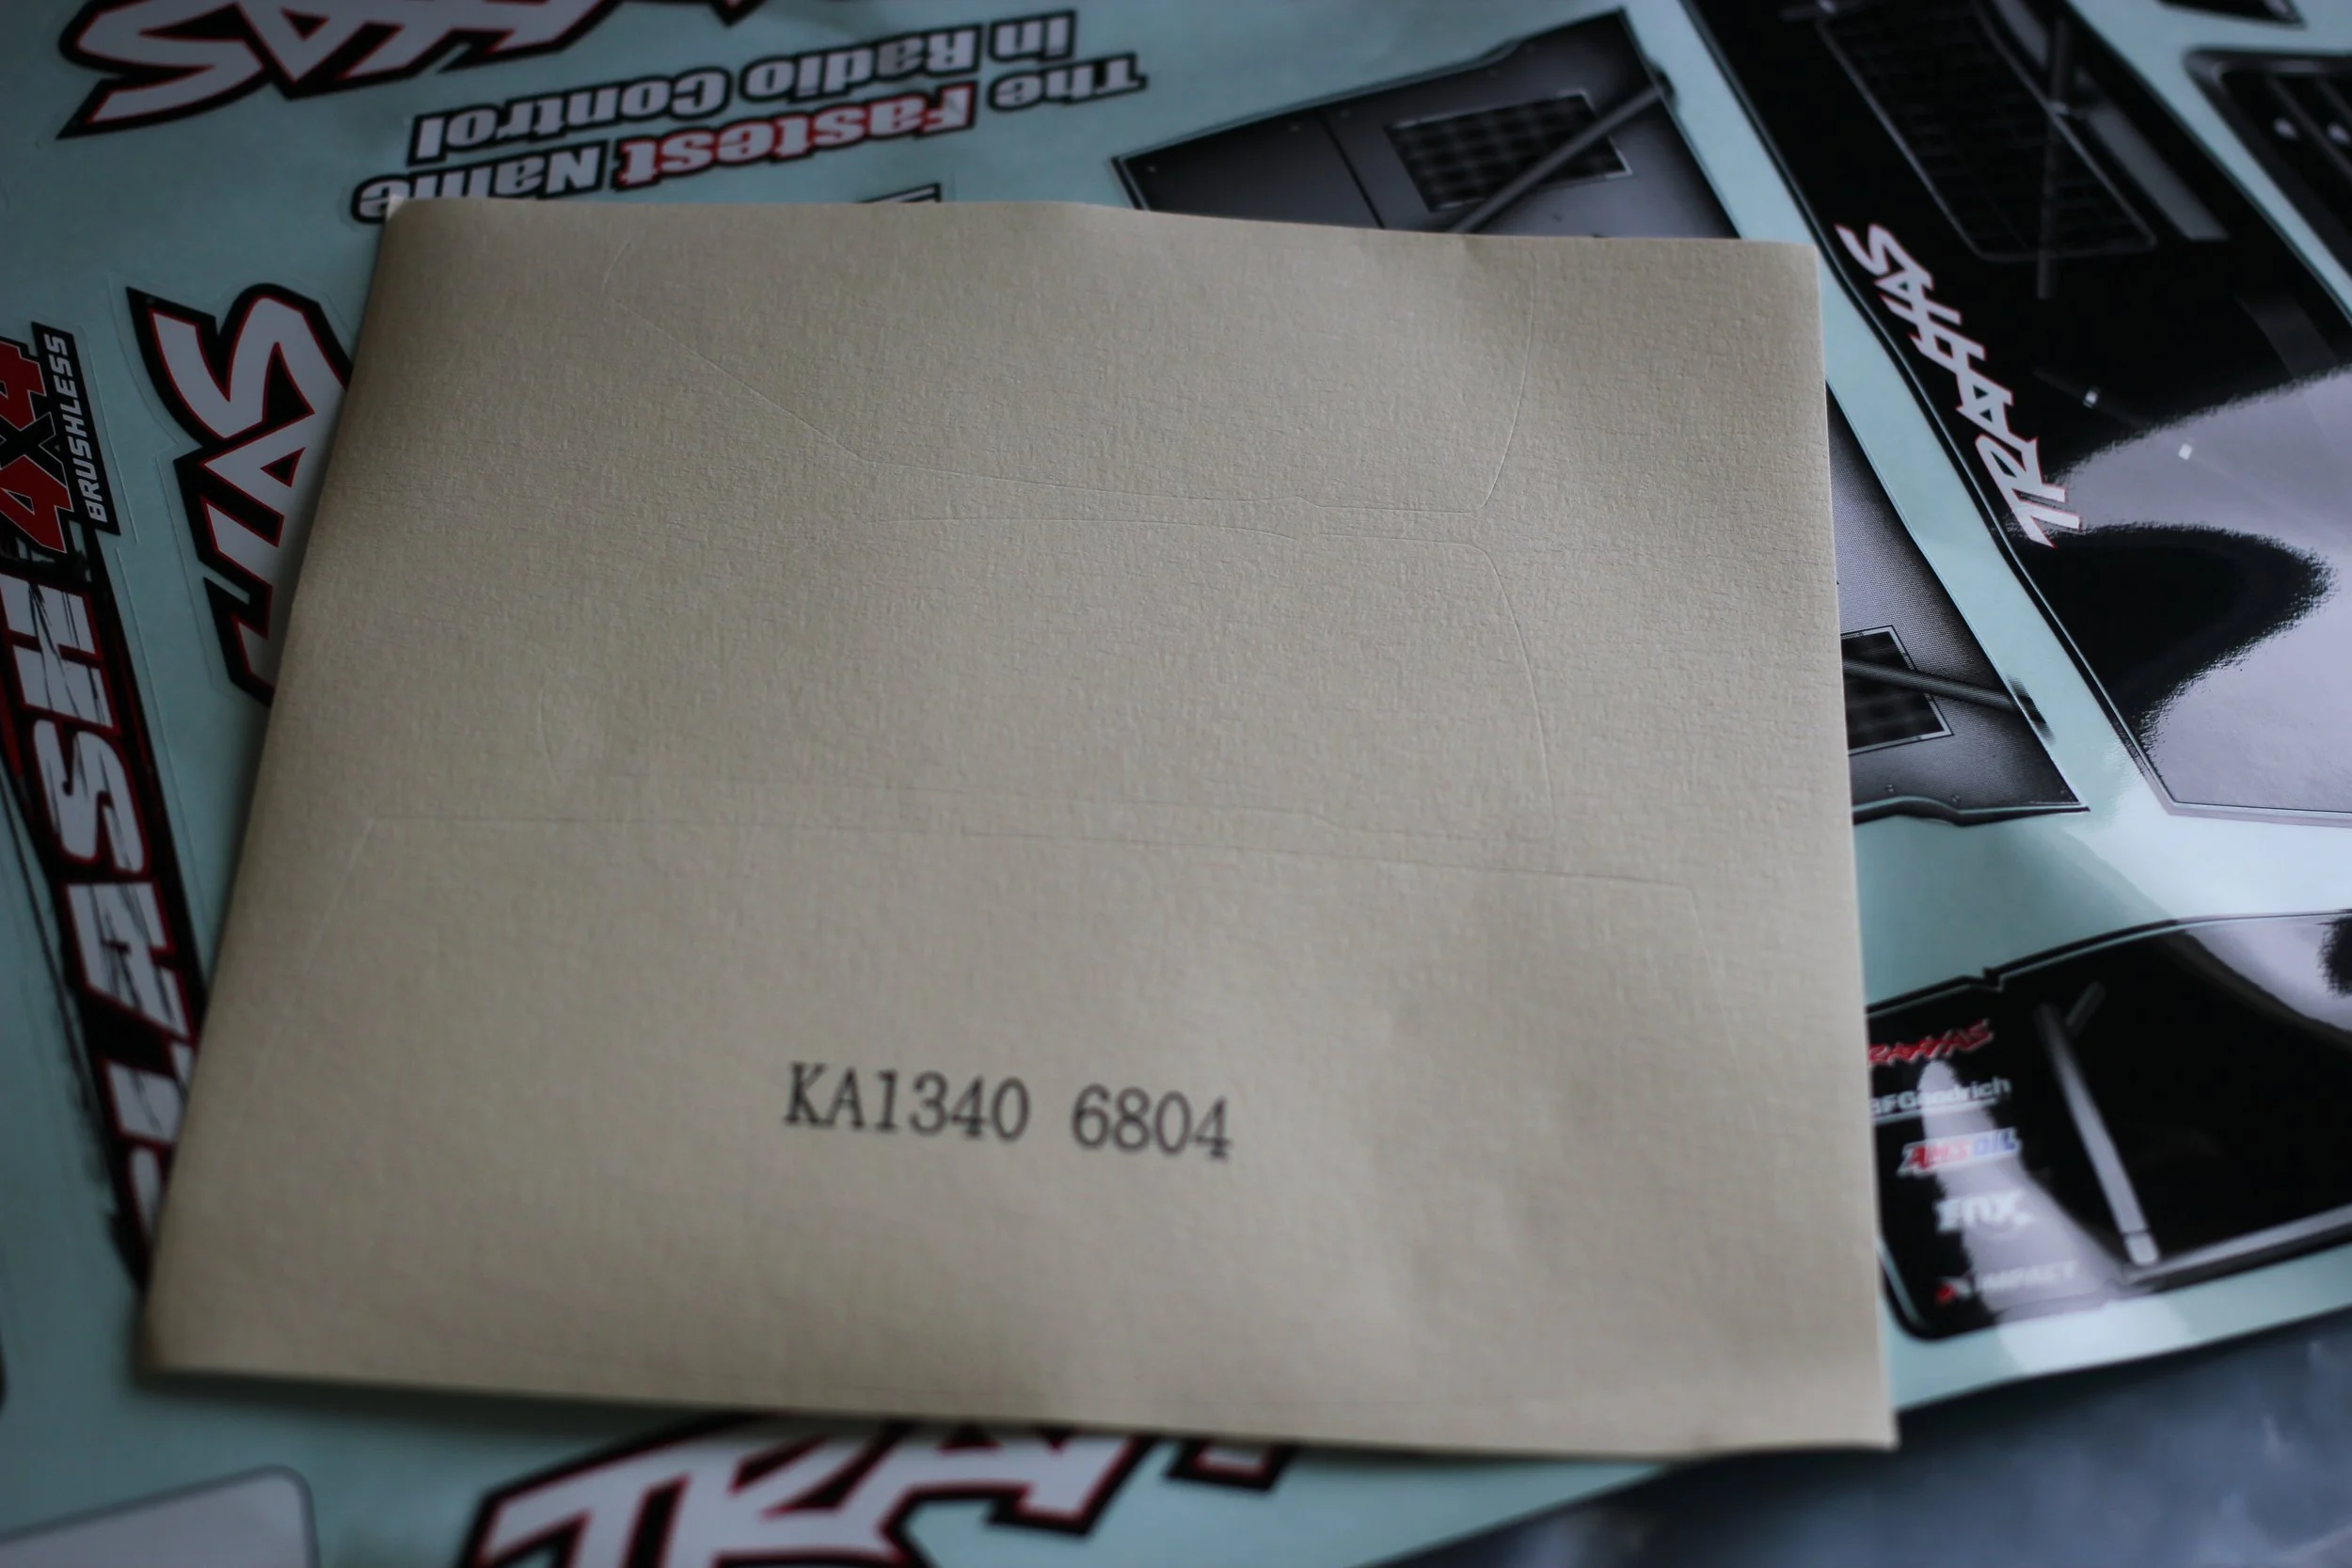
So, that is the story/excuse for not having completed content. However, I did start on the Slash body. I got the new body from Amain Hobbies. Traxxas does a good job with these. The decals are cut, and the window masks are cut out as well. The decals are below the window masks.
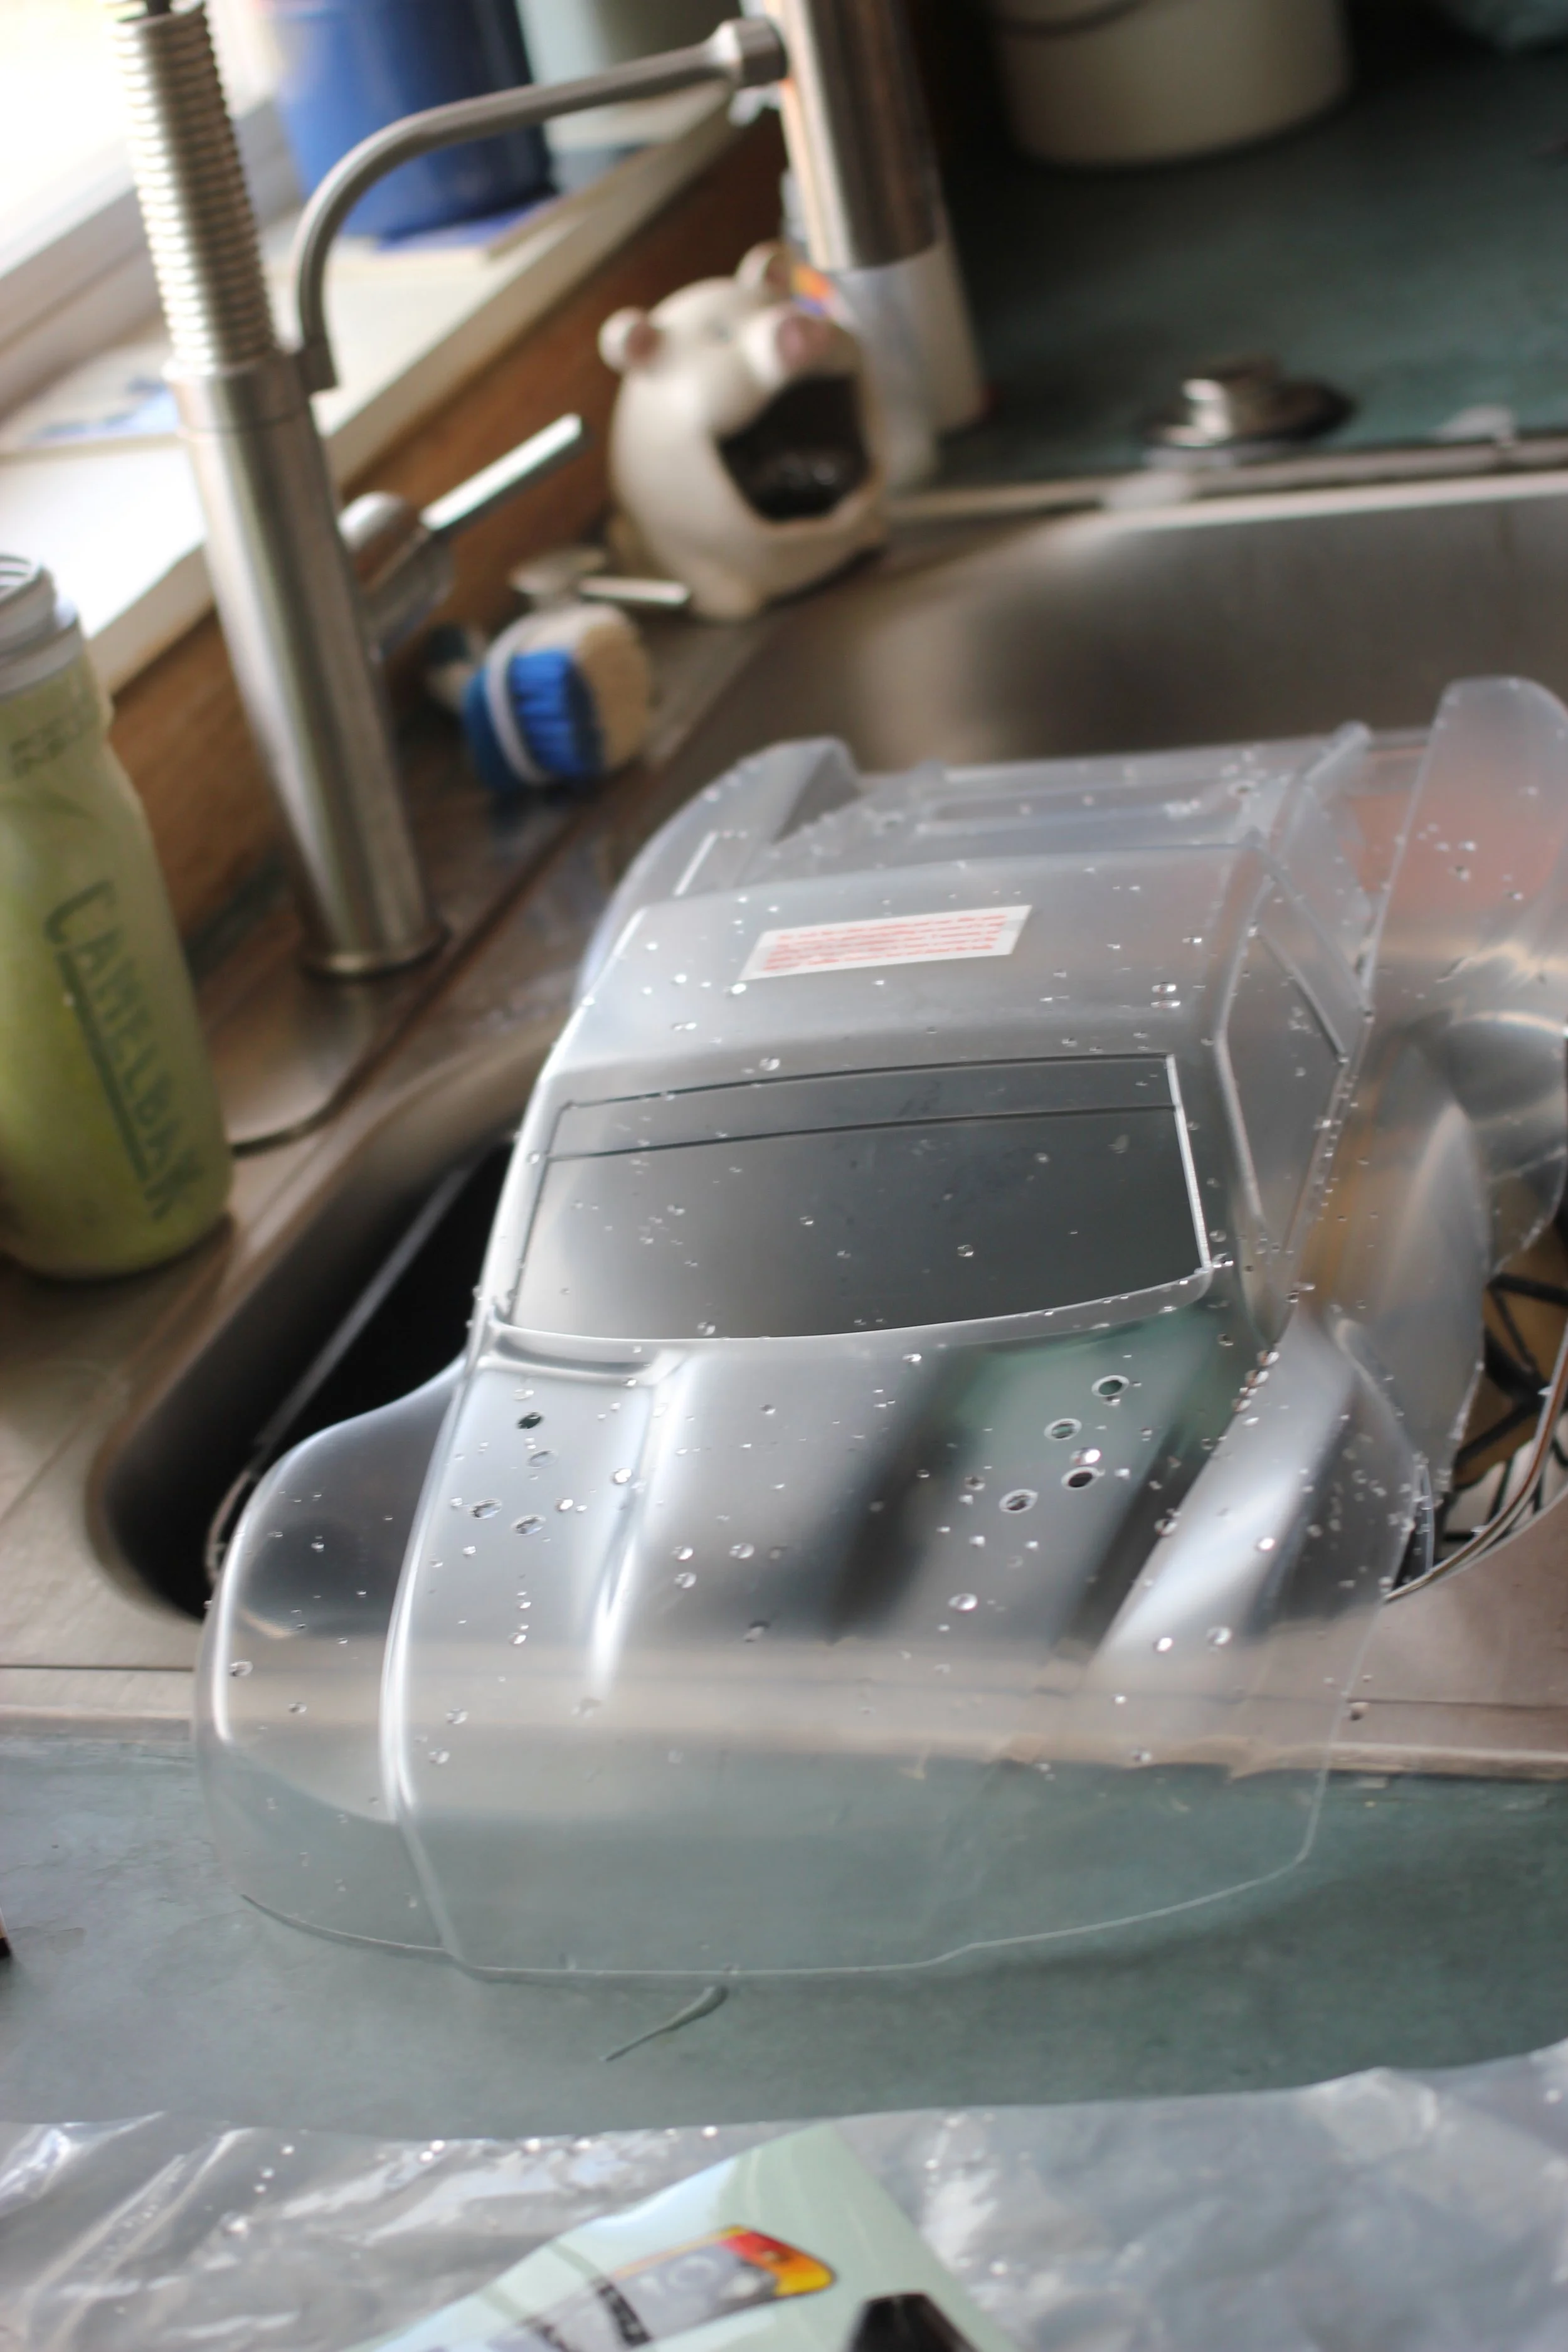
After I unwrapped the body, I gave it a bath in the sink. Thankfully, the body didn’t drip any brown stuff. If it did, I would be very worried. Nope, this all went smoothly.
Now it is time to mask the body and work out a design. This is the first time that I used my Cricut to do some masking. The Joy Extra is small, easy to store away, but still highly effective. It is so effective that the elves that come around the shoemaker’s shop are protesting in my front yard! They are mad that they are put out of work. I keep telling them that I don’t do shoes, and never intend to do shoes. Oh well, I will offer them a ride in the slash when I get this new body done. Maybe my son can 3d print so little elf seats. We plan to avoid the South Pole elves, rumor has it, that they are WAAAY more confrontational.
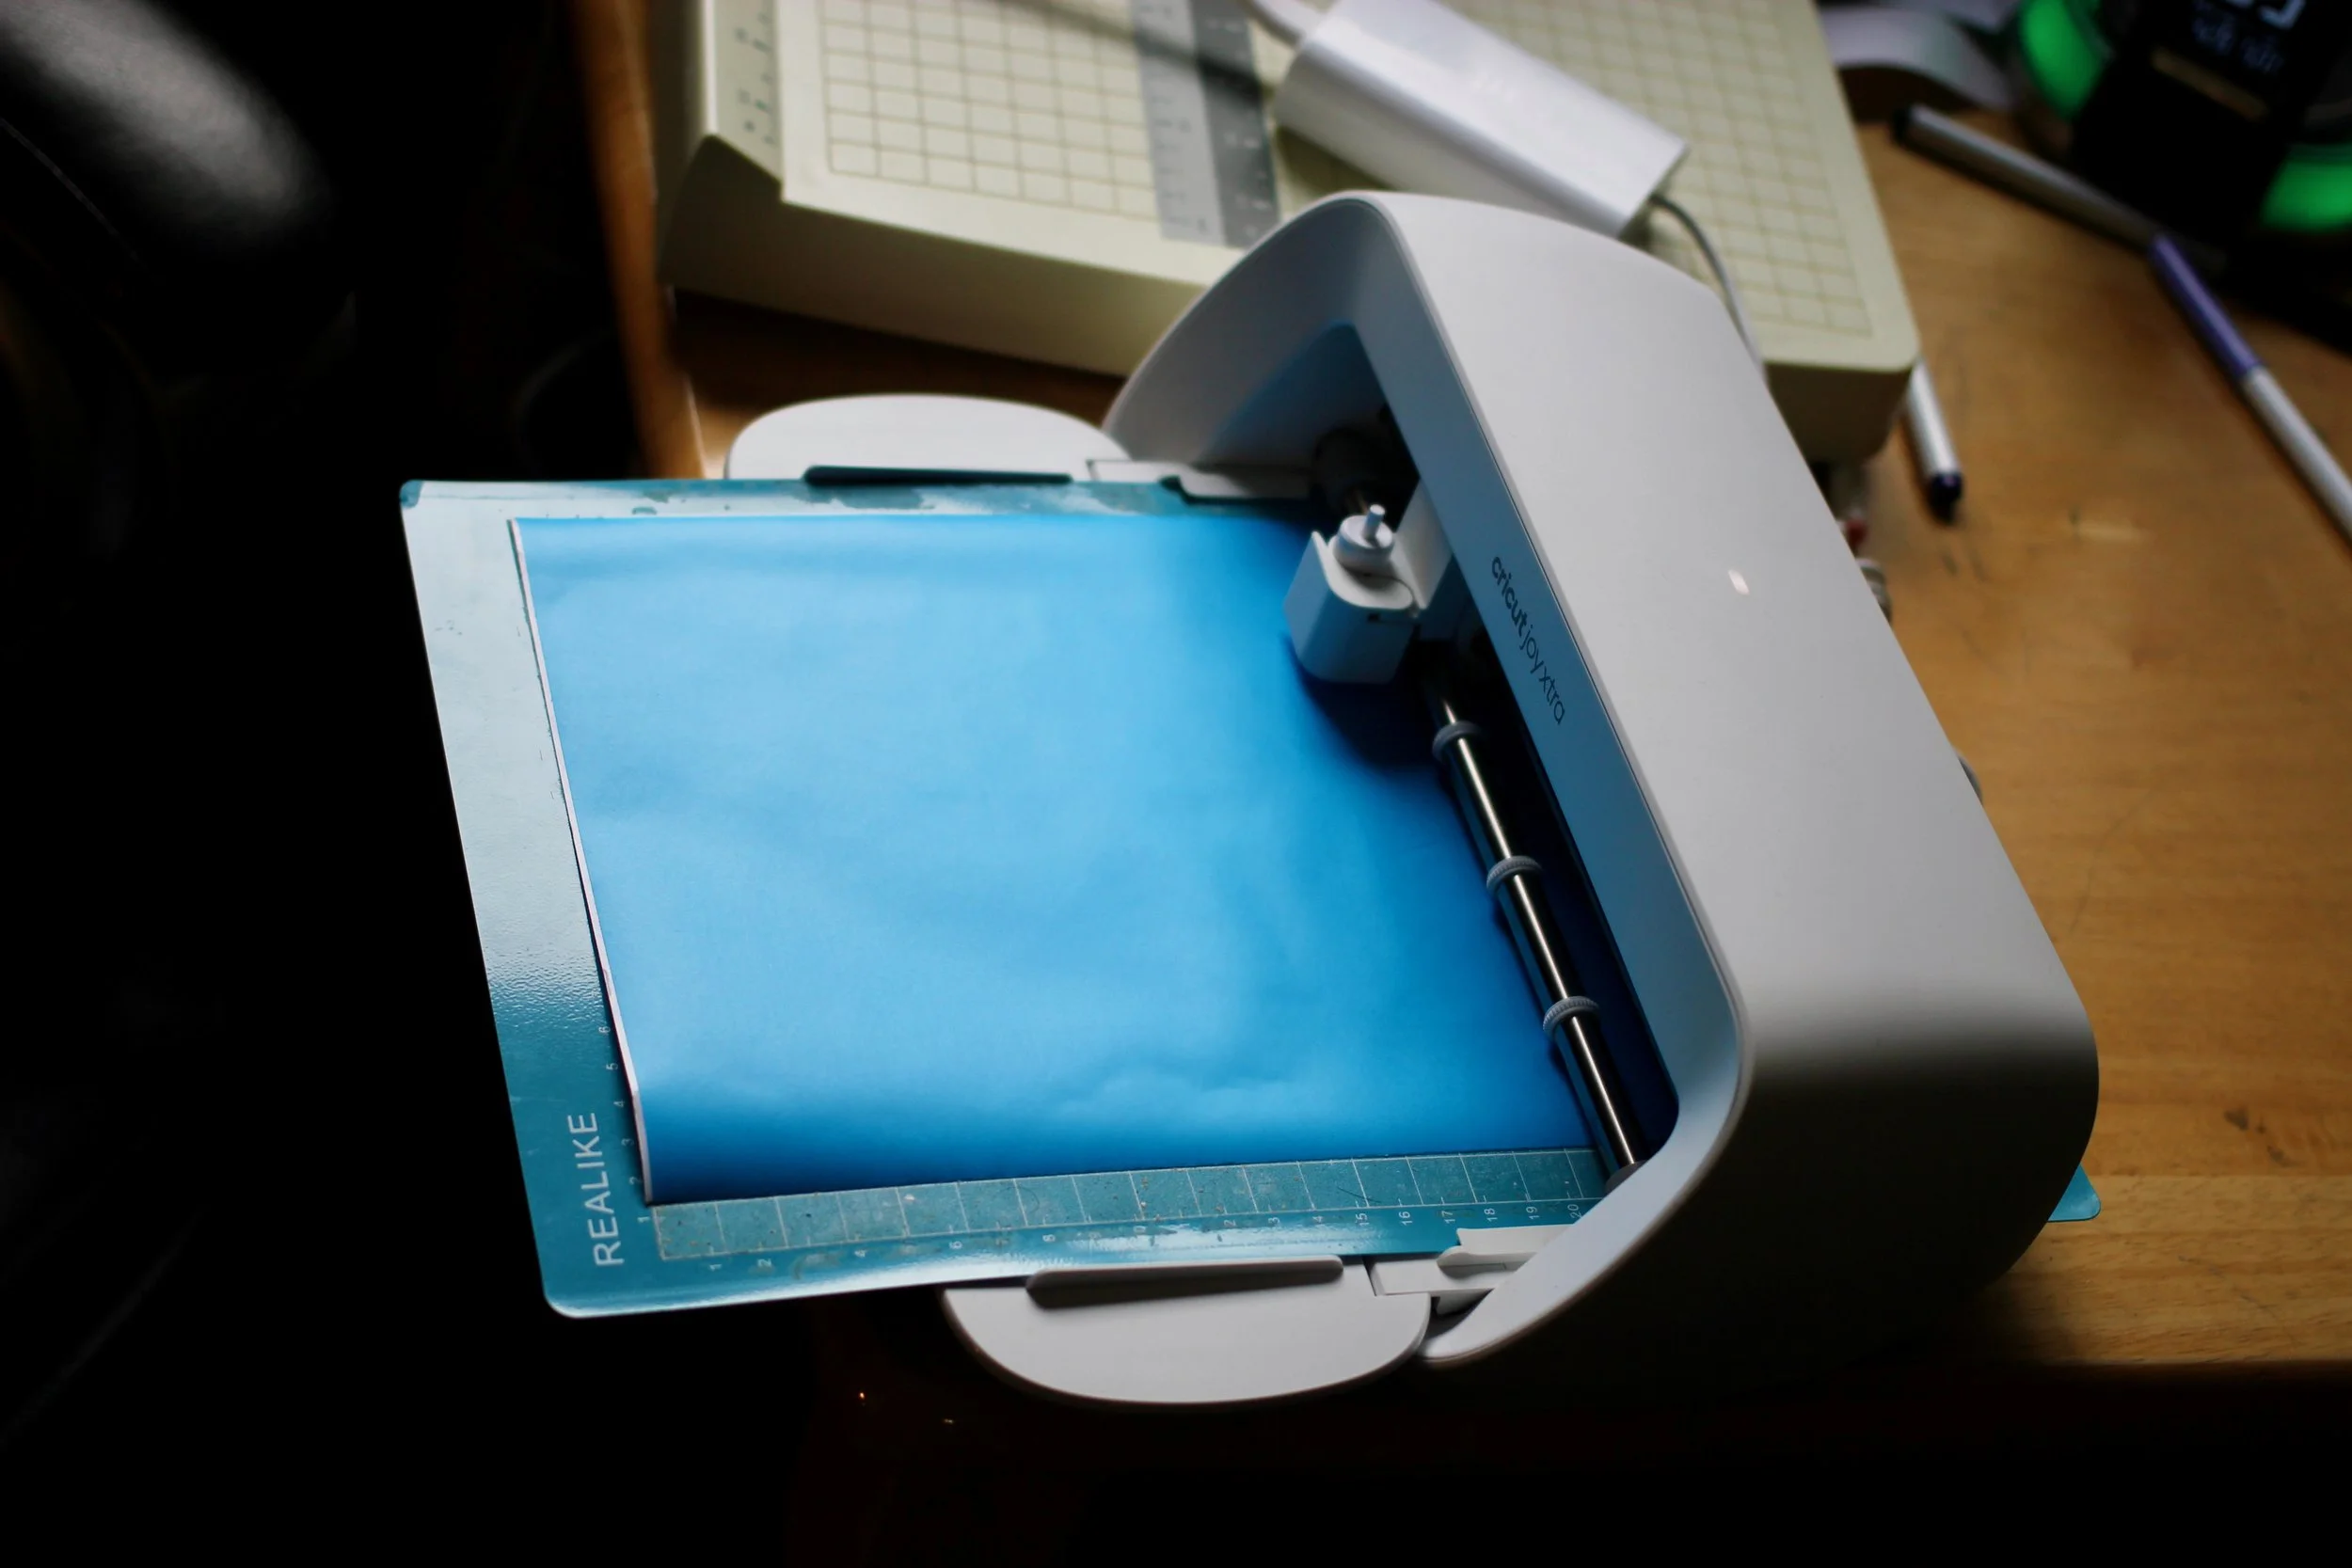
Here is the link for the Cricut Joy Xtra from Amazon… I get clams and a link to the masking vinyl which is potentially moving into the Paulie’s Pick, but I still want to finish the body to make sure! The key on the vinyl is to set the pressure to light! When I did normal or the “more” option, it tore the vinyl.
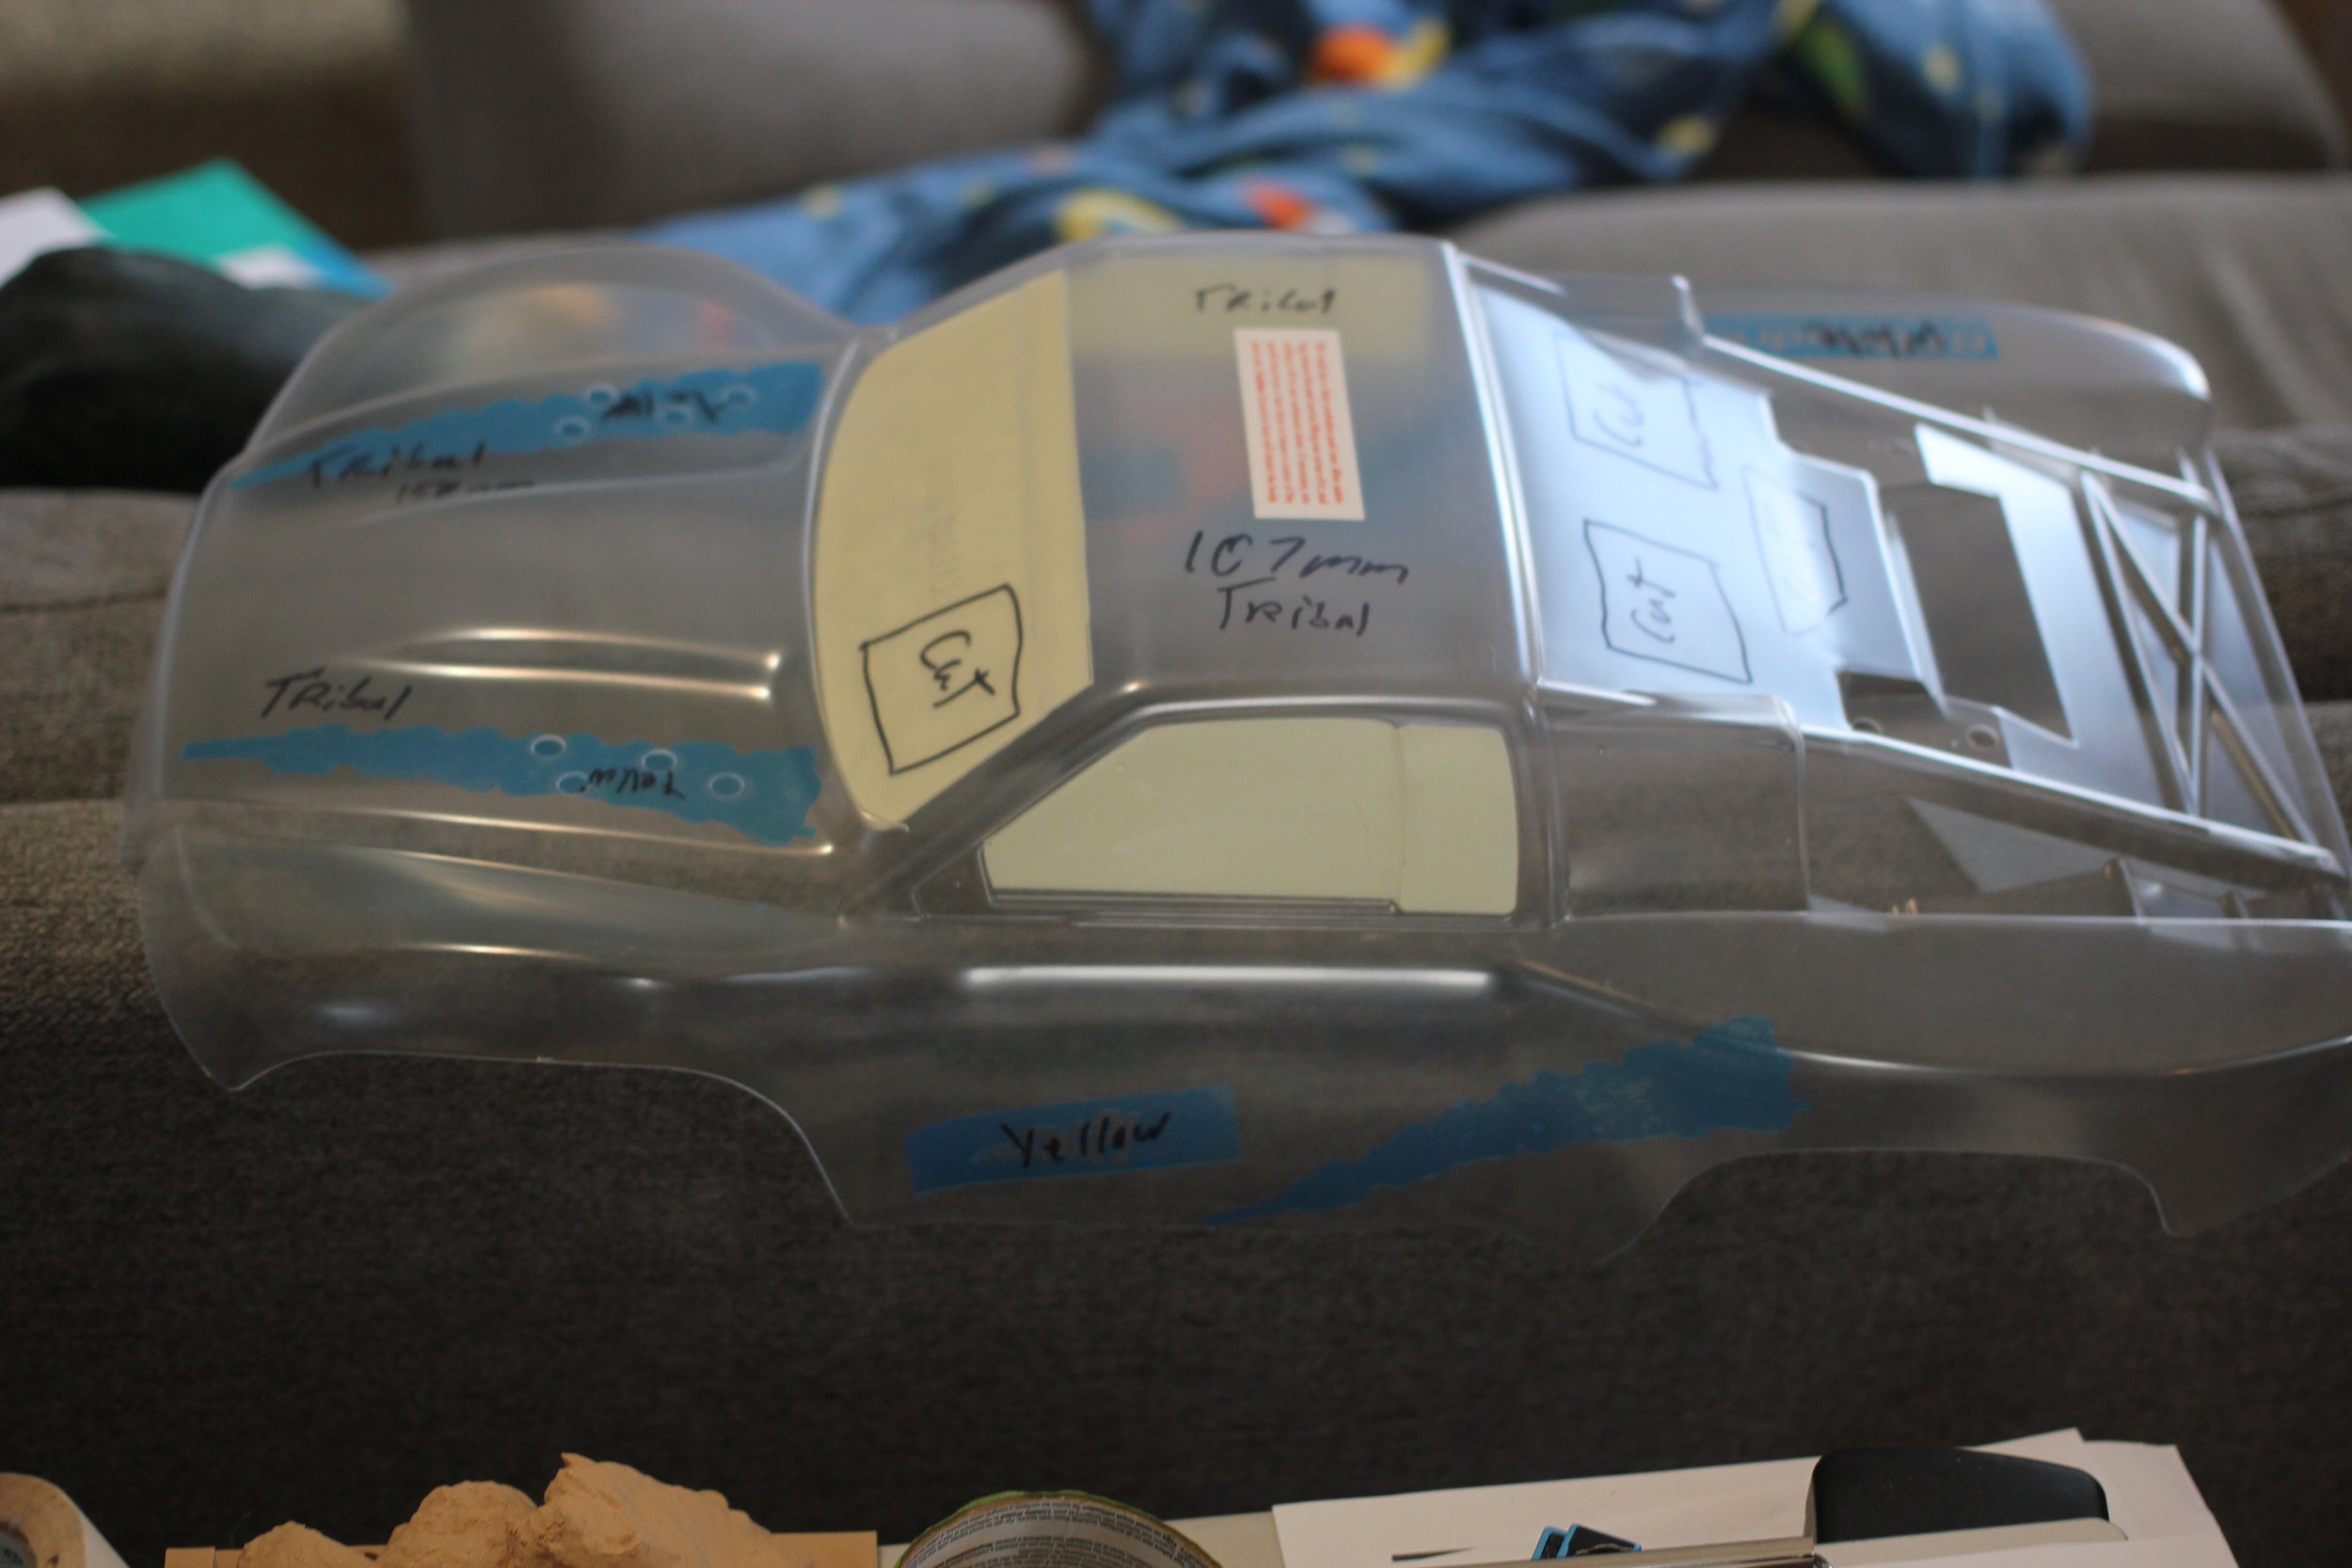
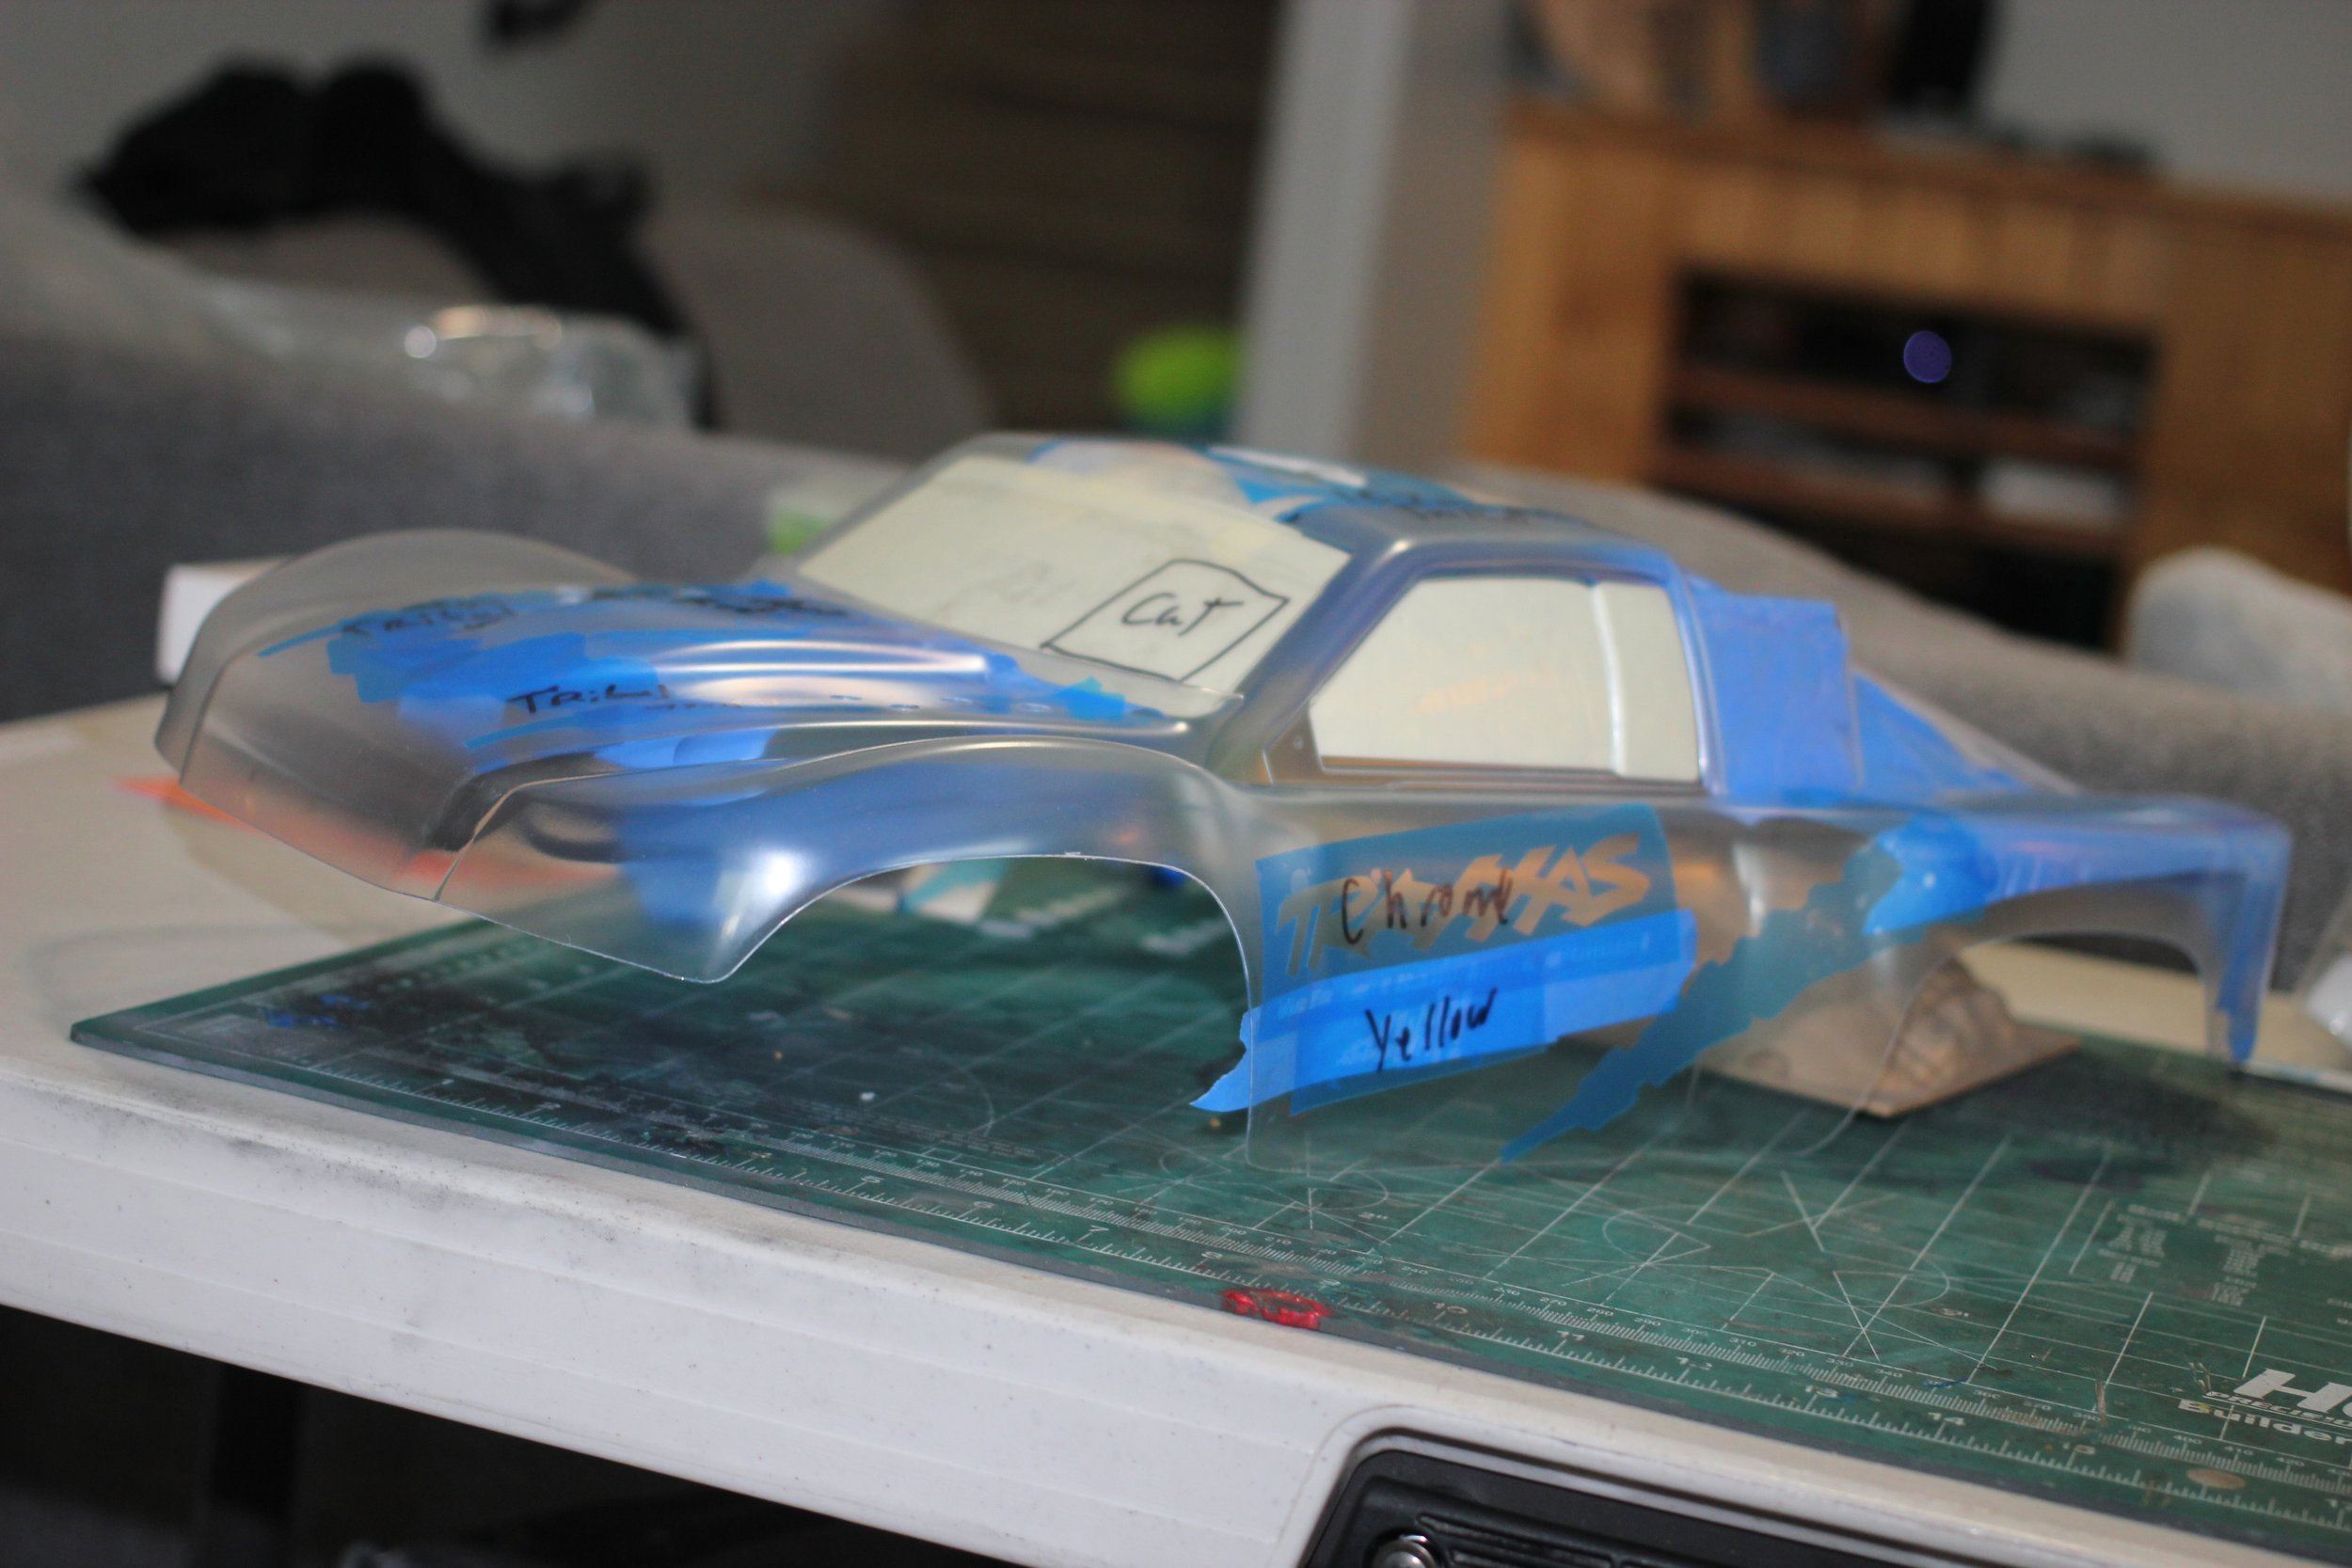
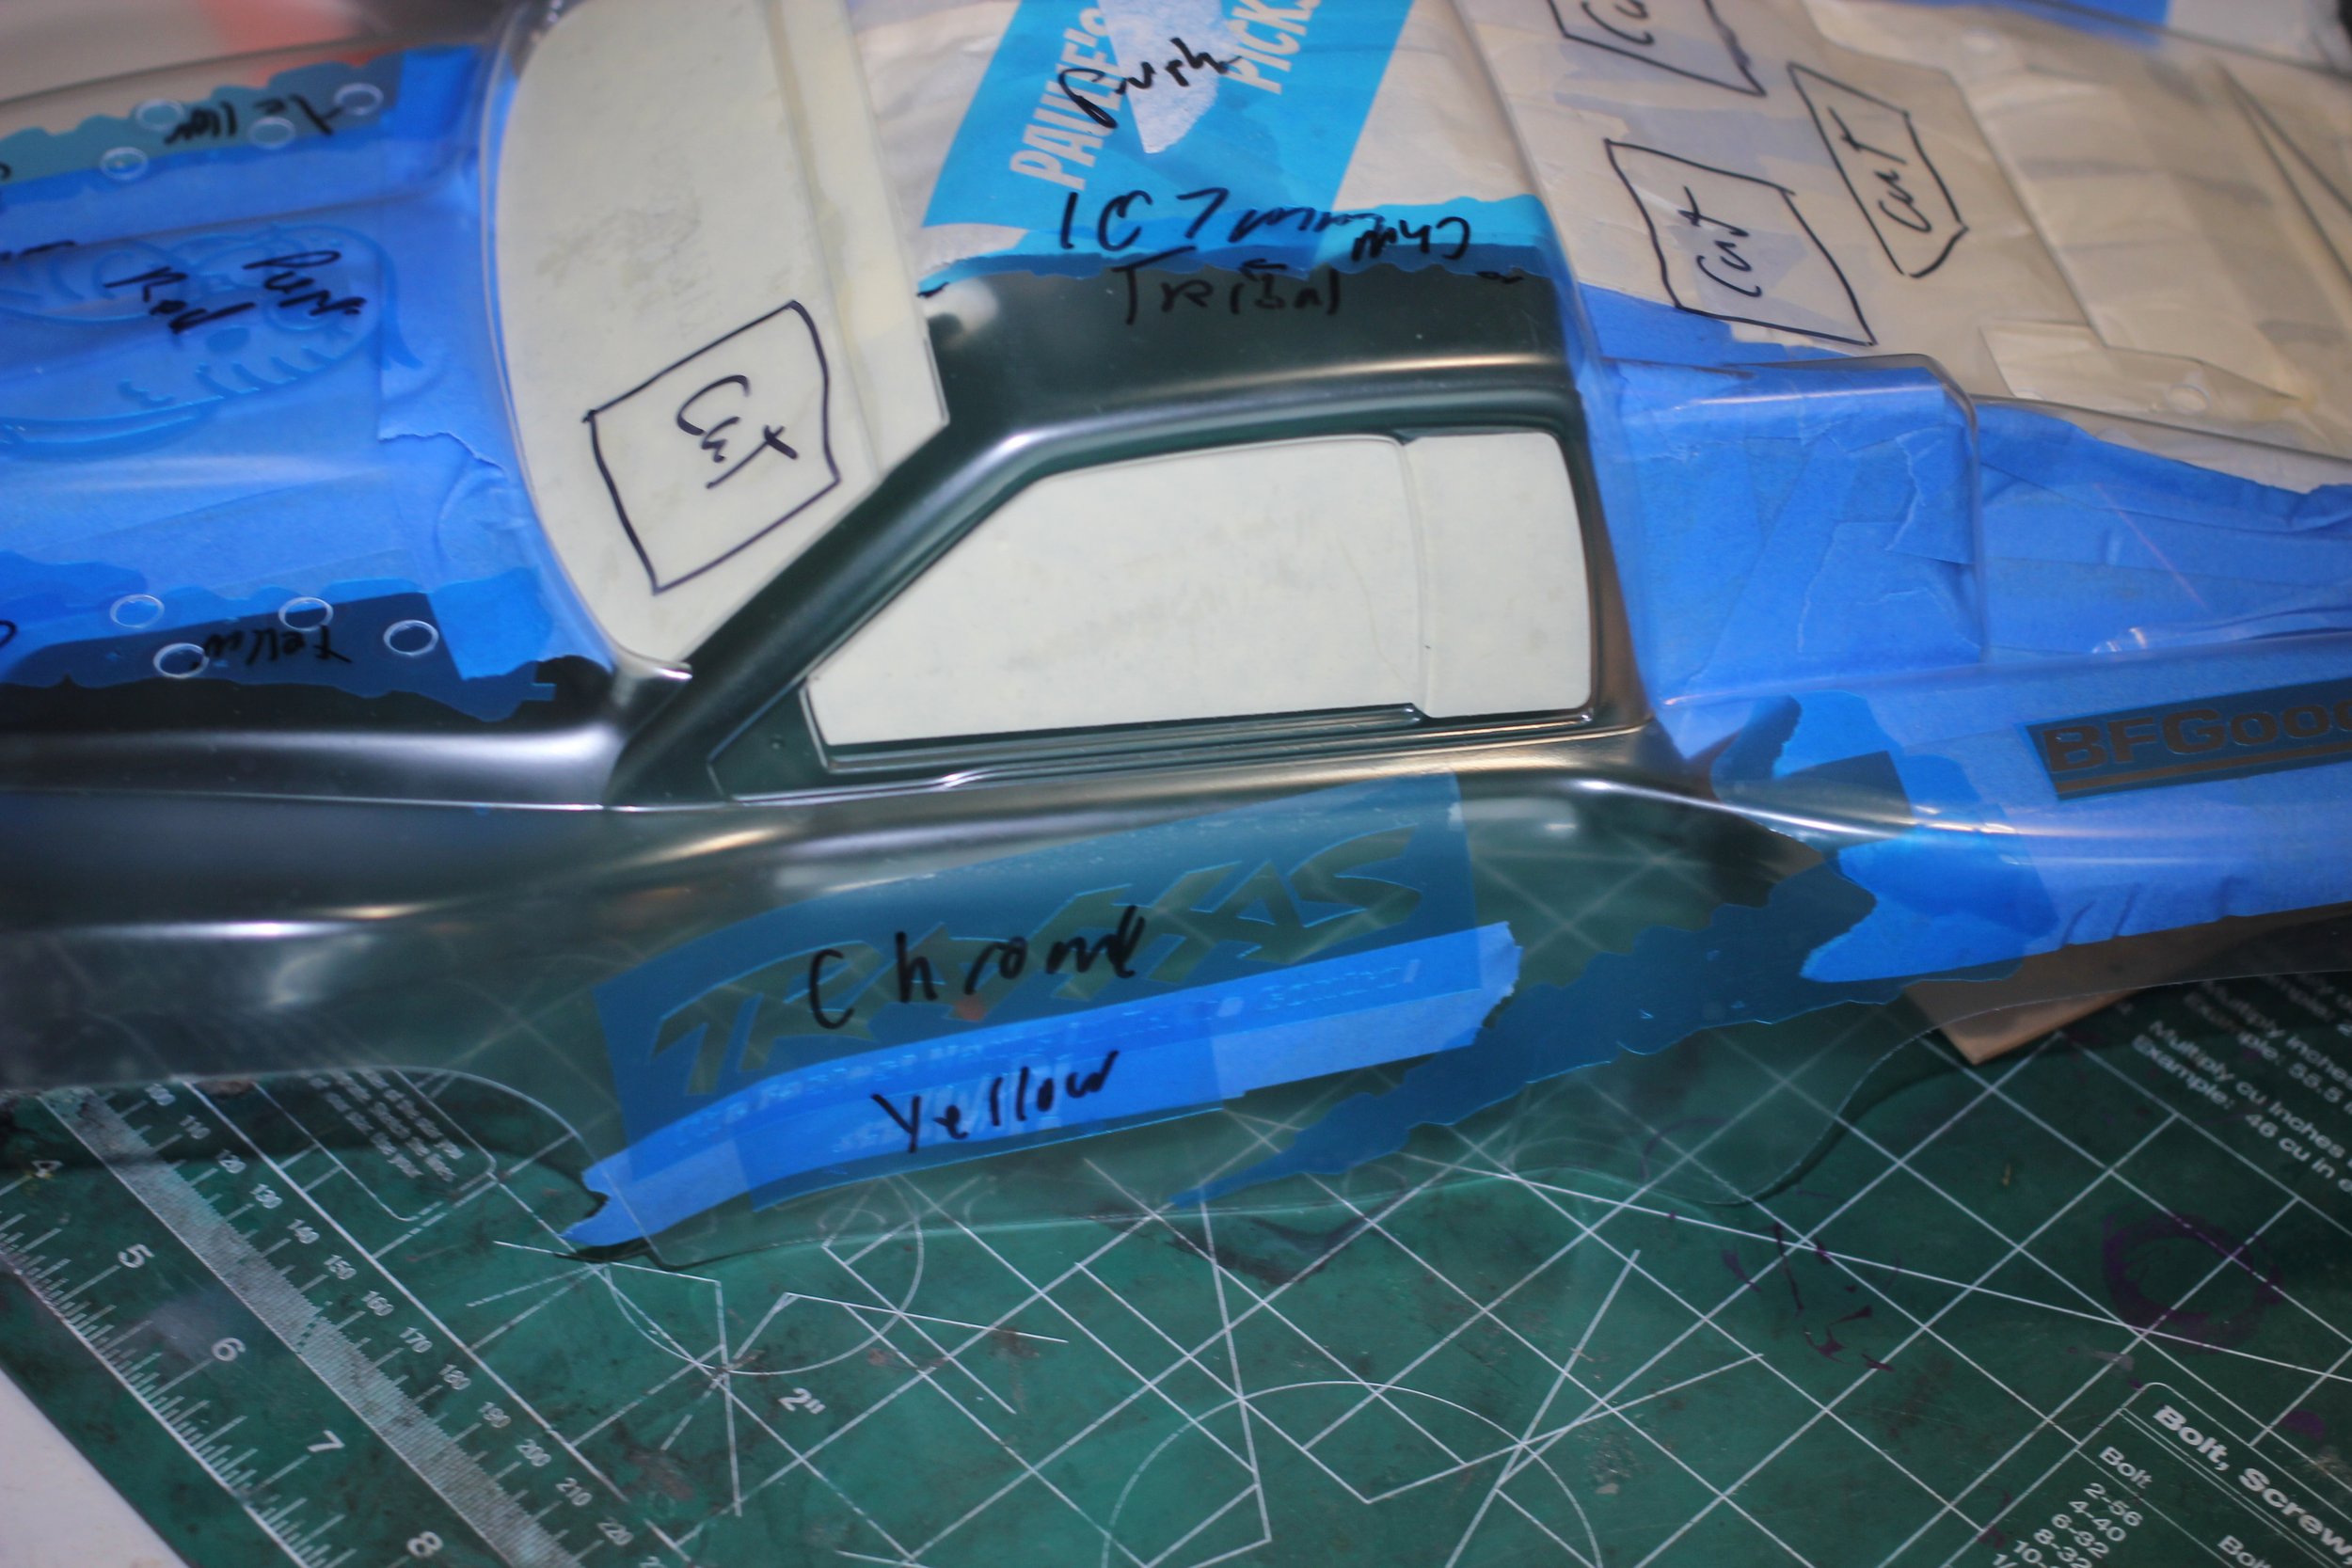
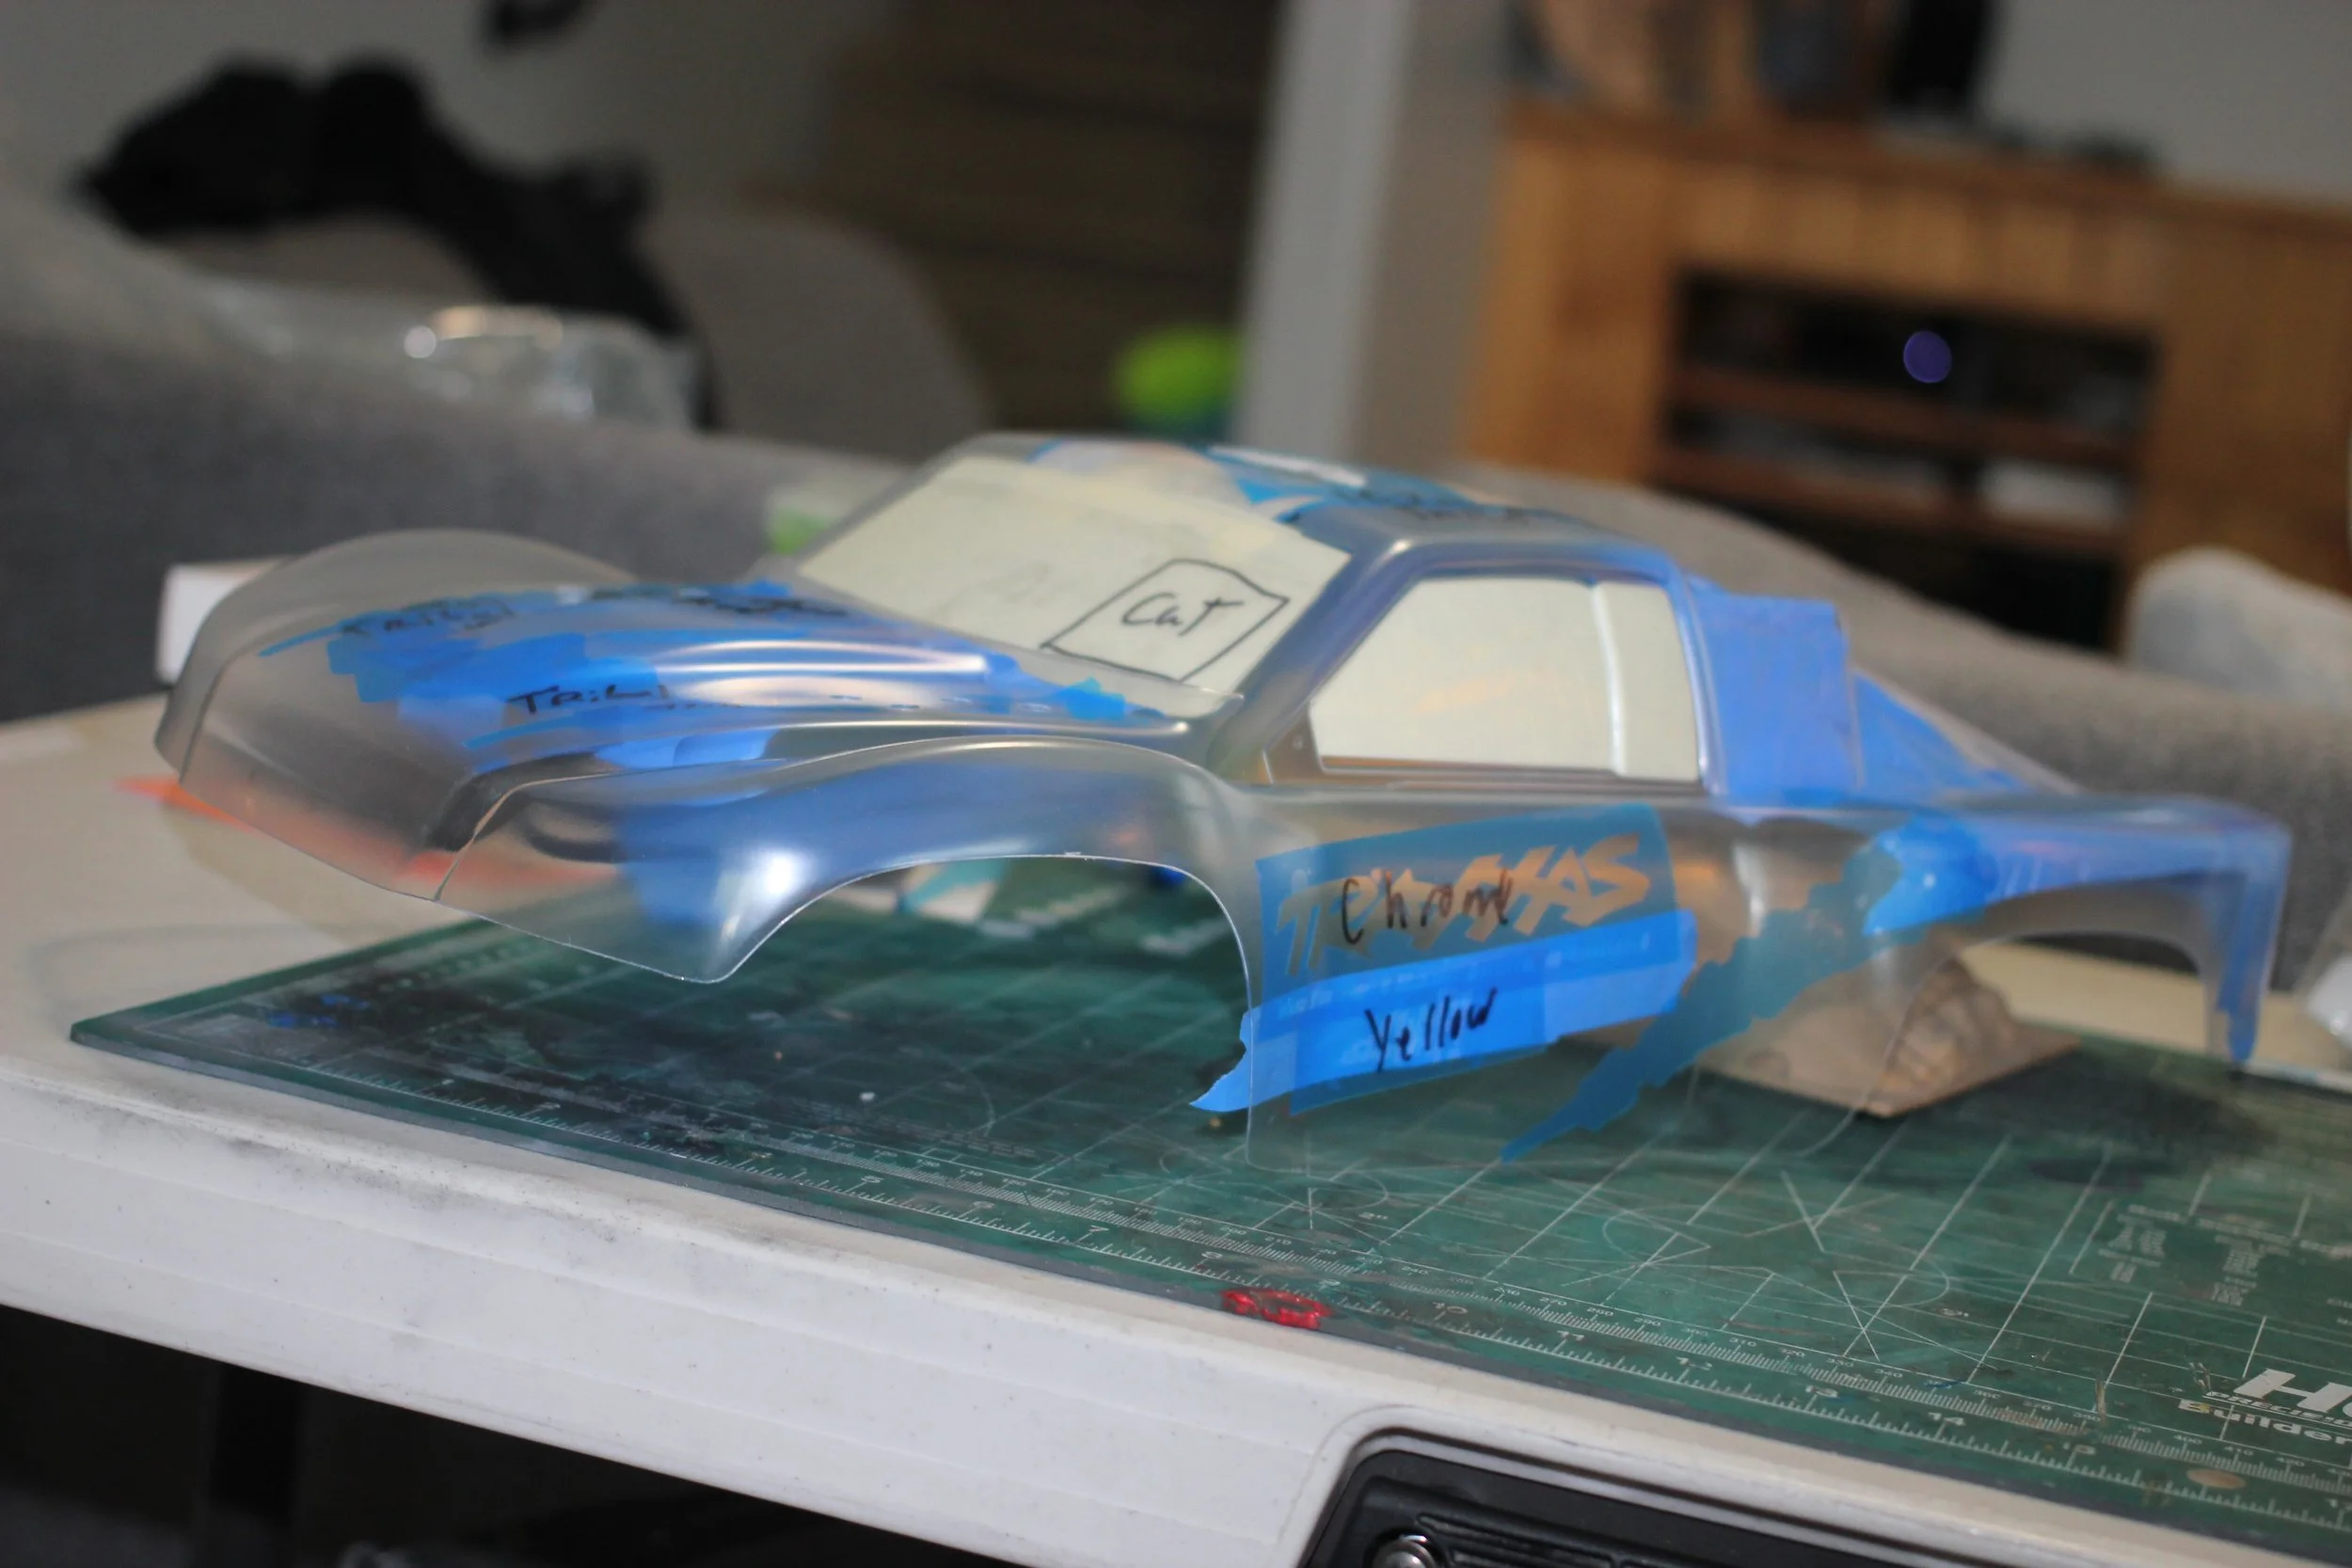
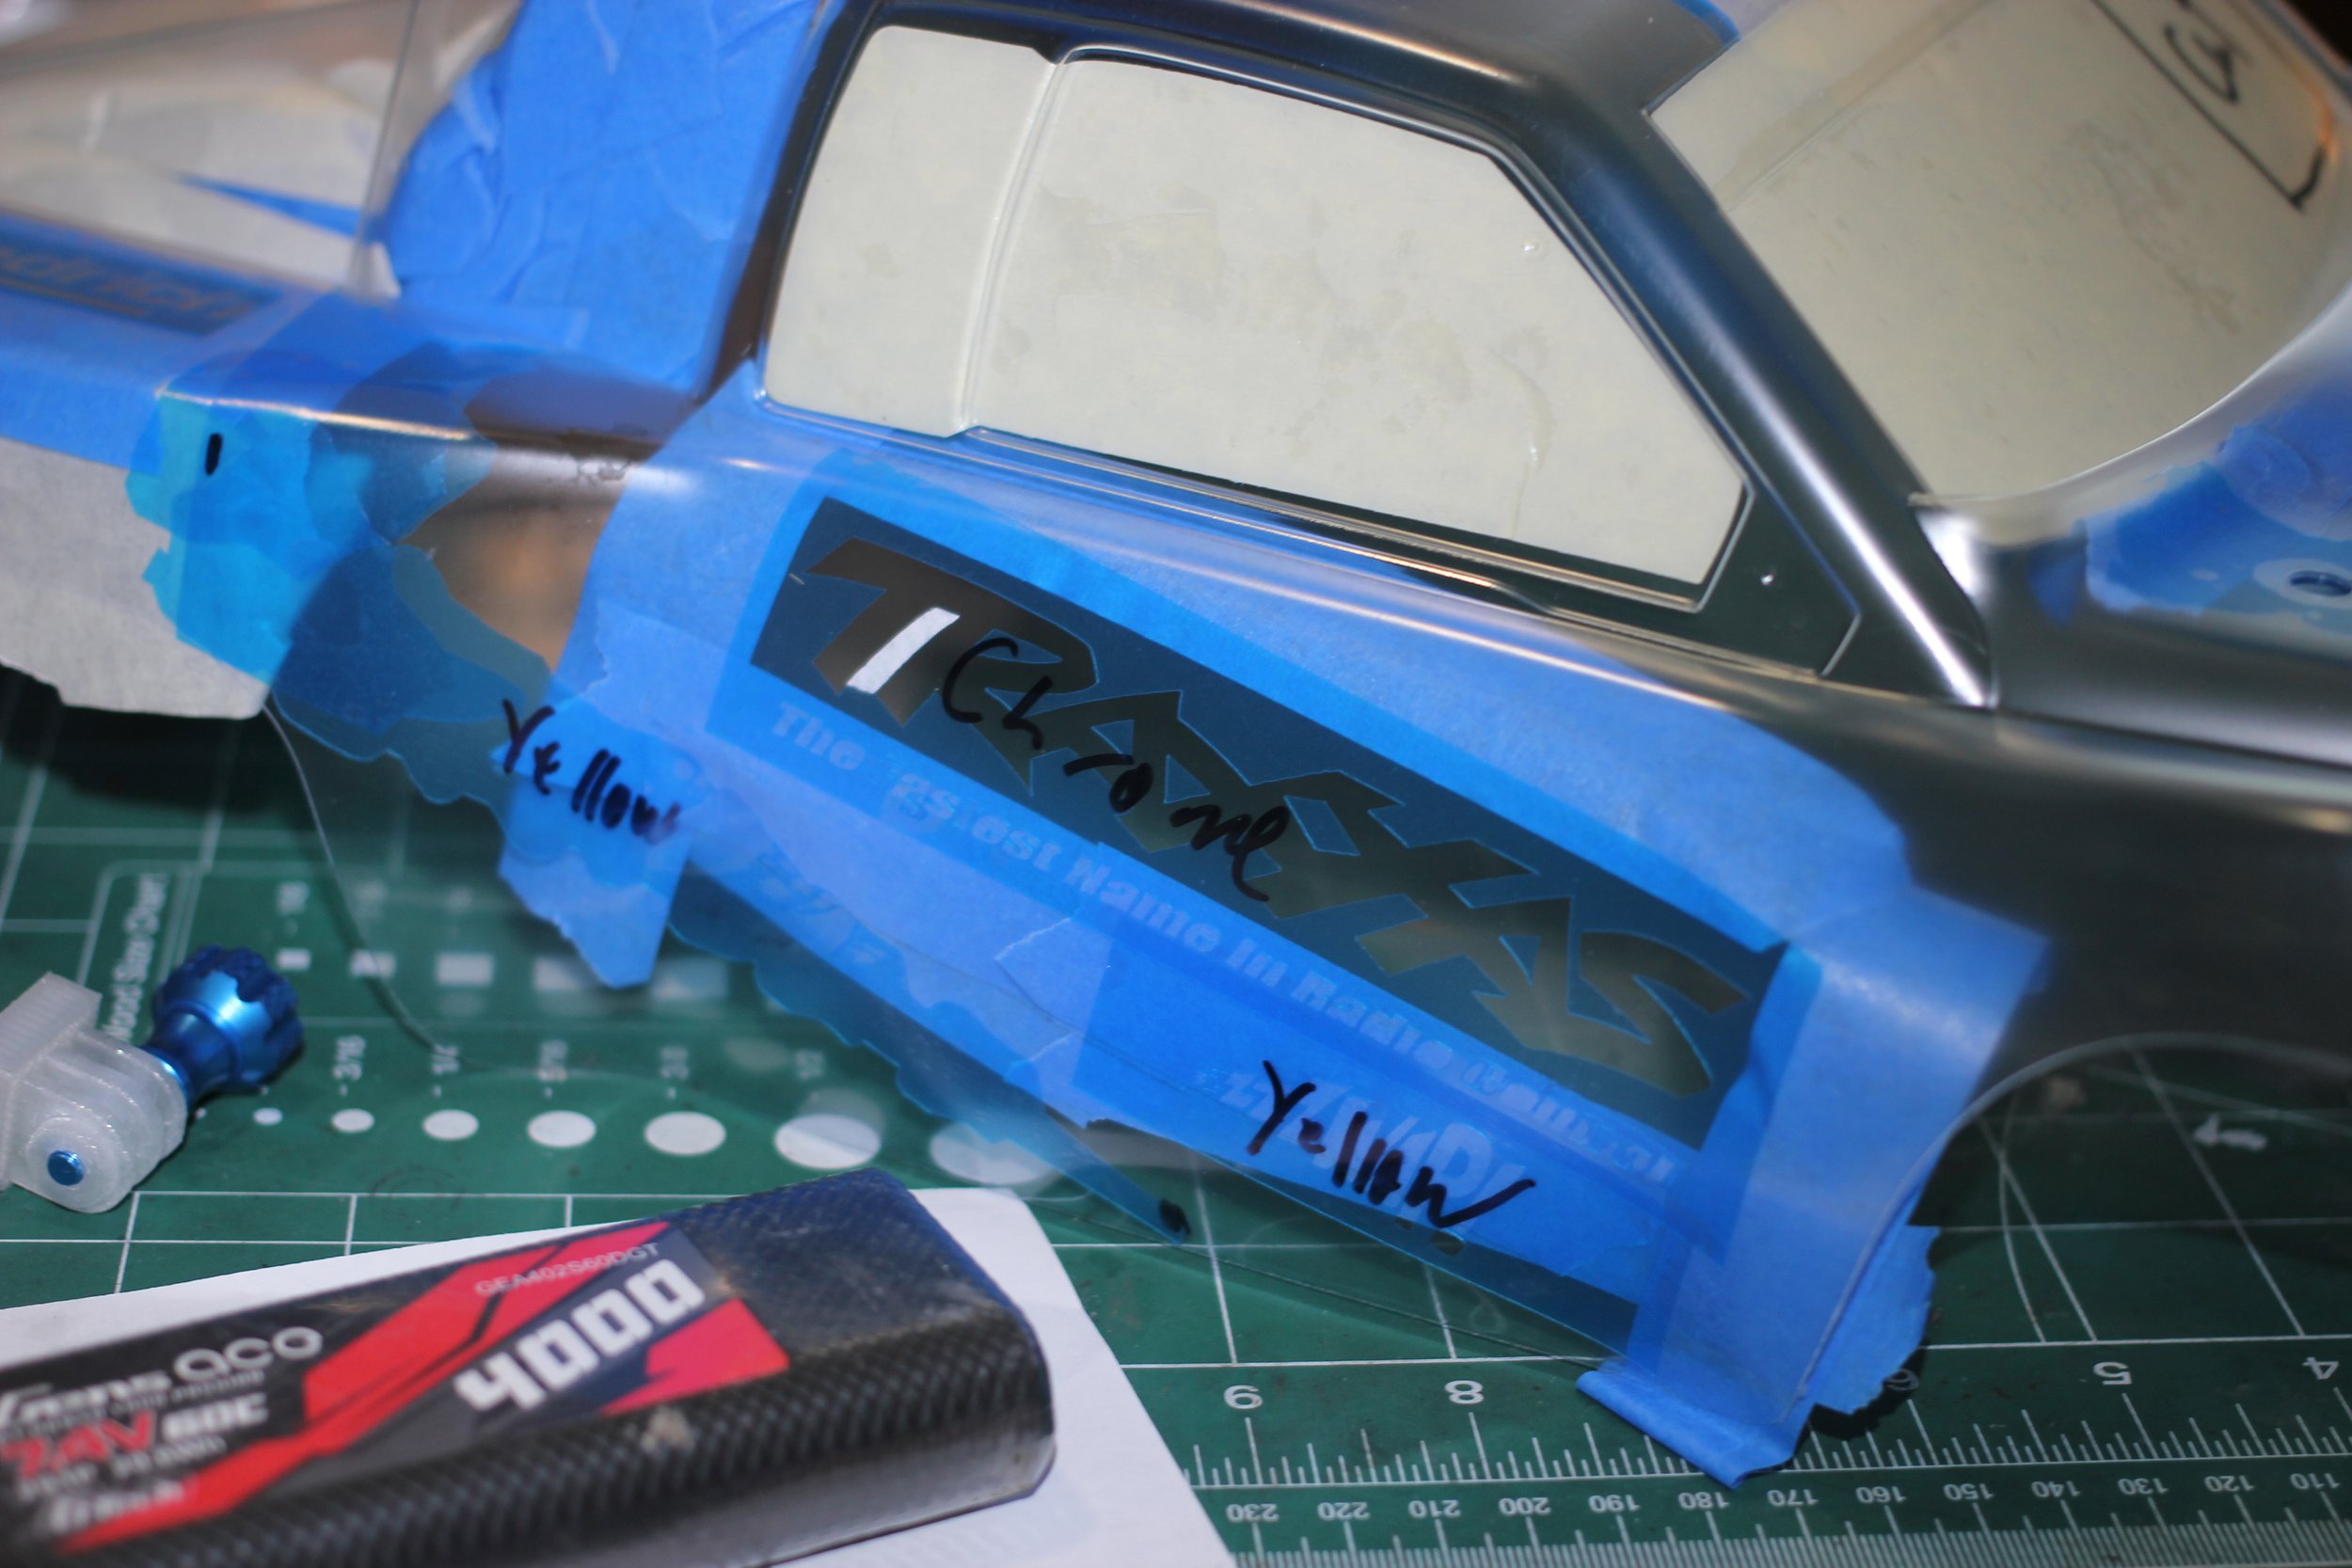
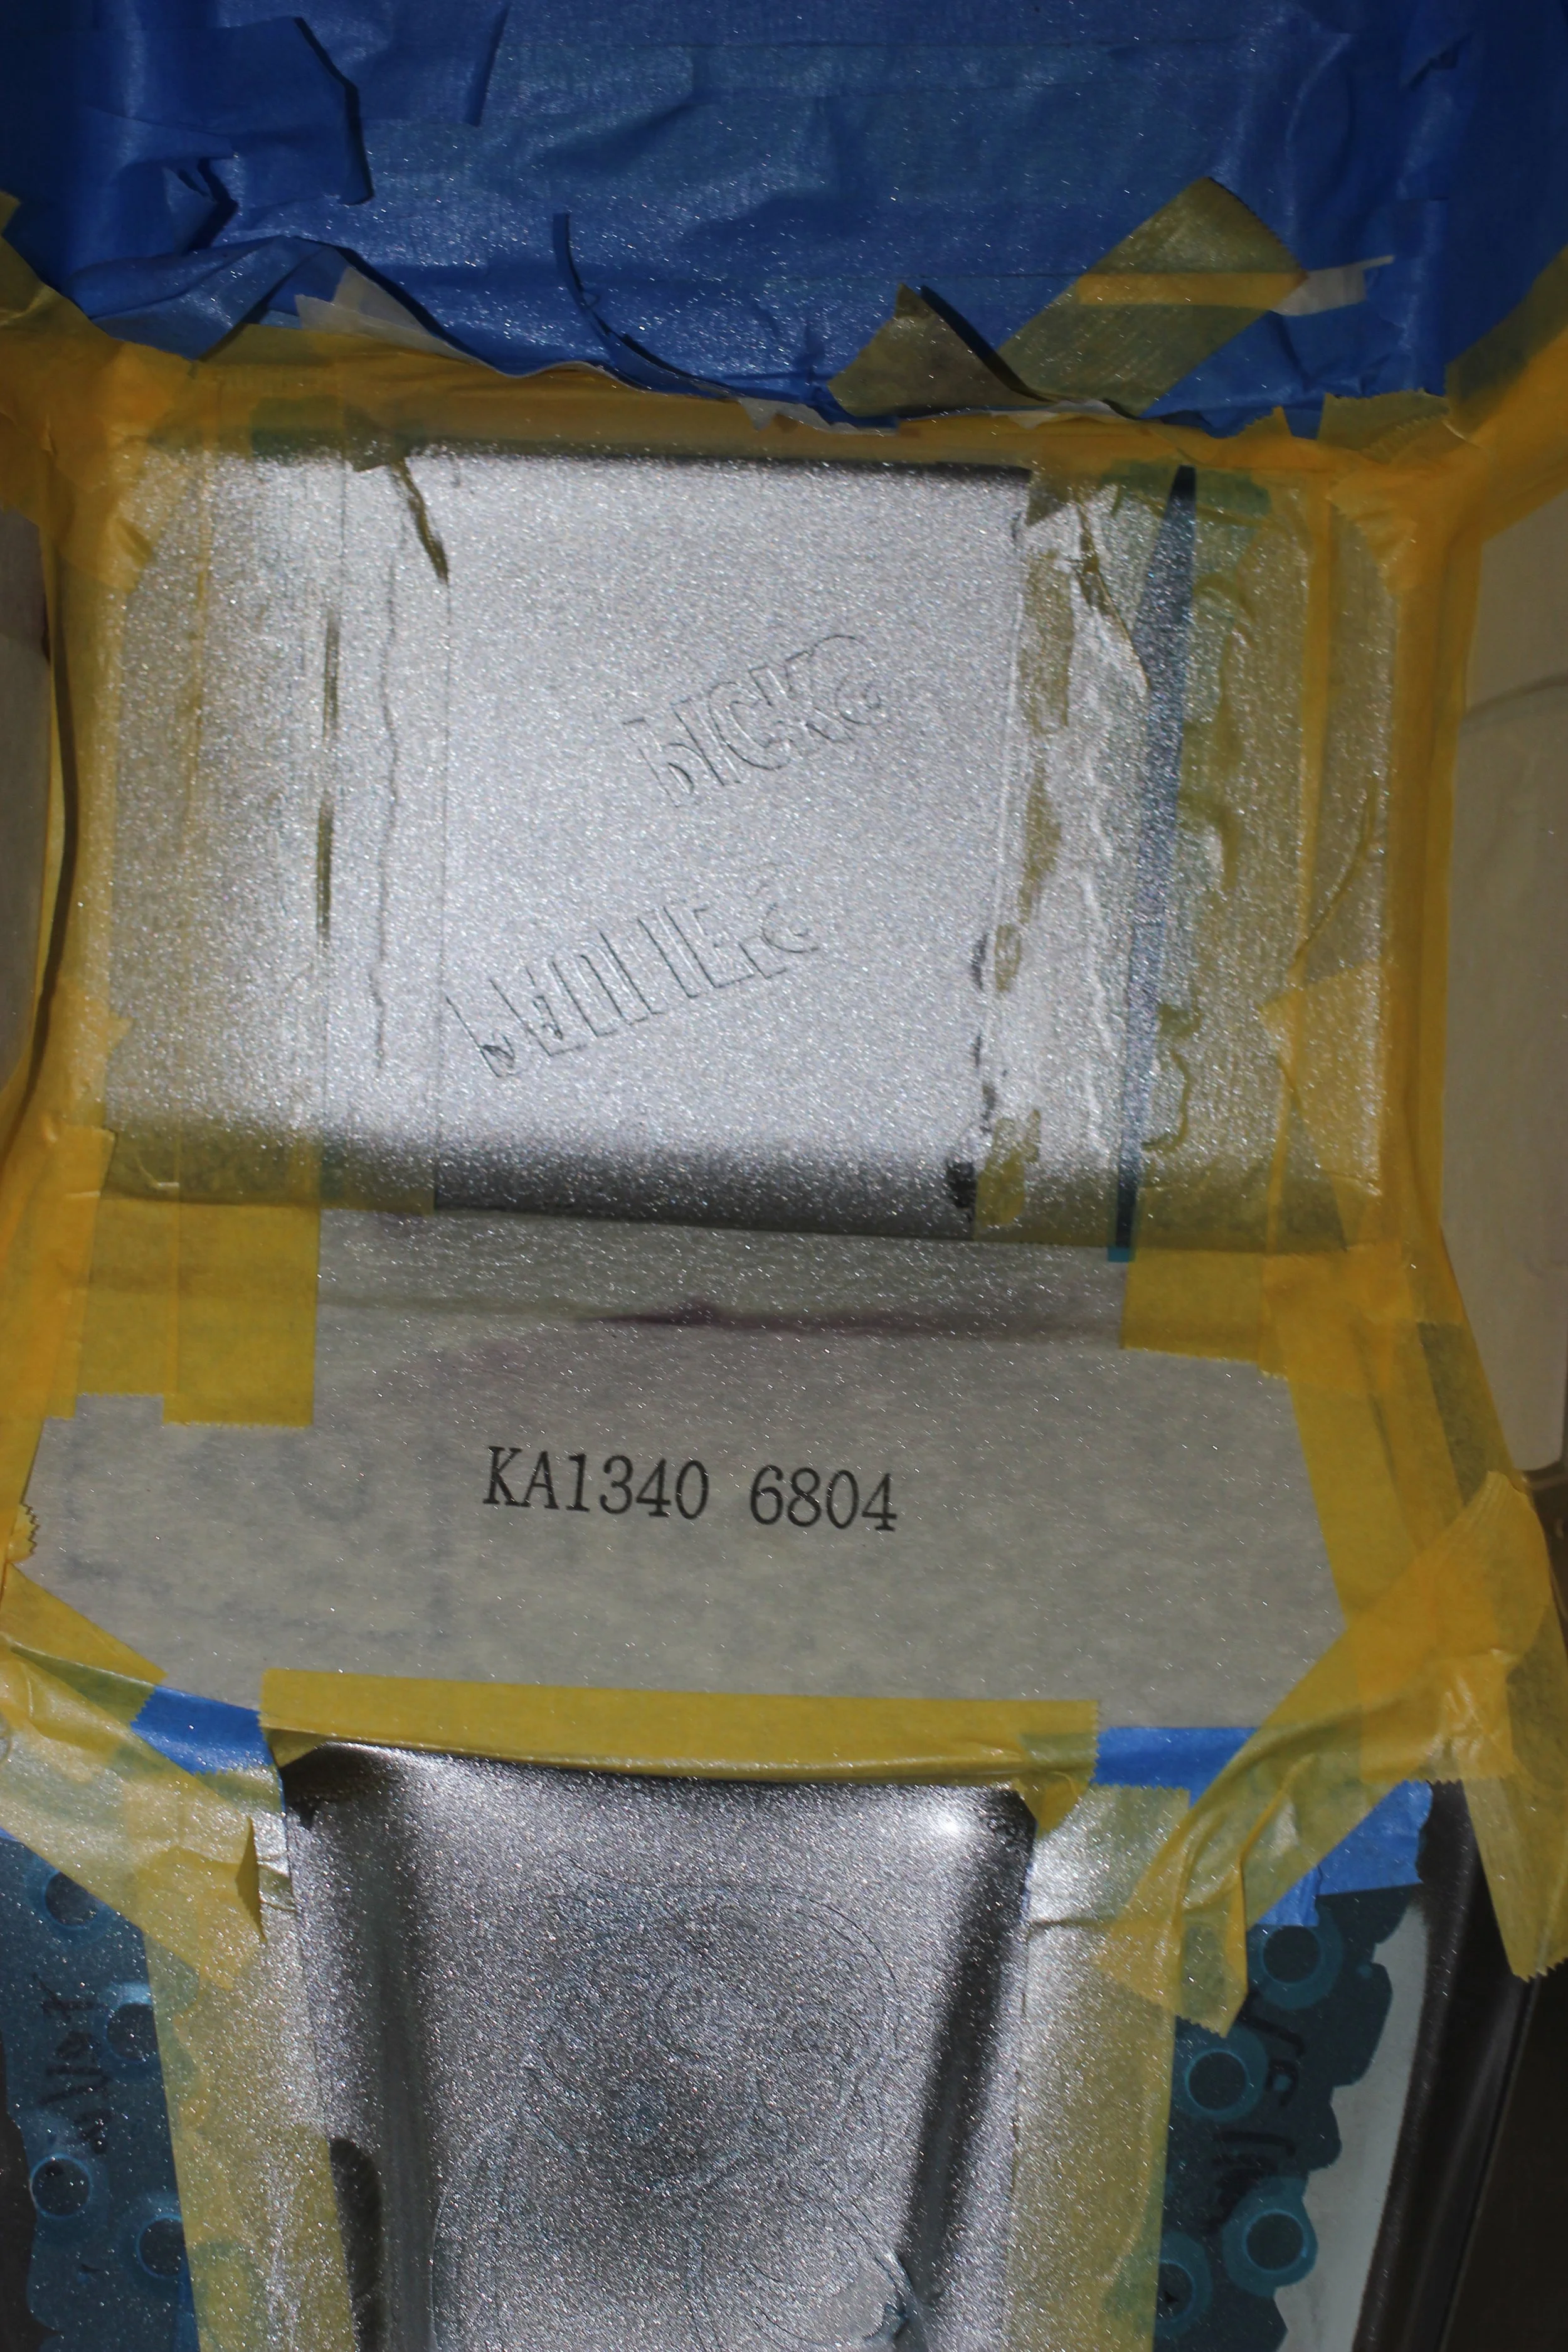
The gallery below is my masking of the body. If you are new to RC, remember that you paint the bottom of the body. The Lexan bodies also come with a protective plastic covering the outside. The nice thing is you can make notes on what you want to do to the body, so you keep your paint scheme clear. I have seen people paint the outside, decal it, and then someone breaks the news to them that the protective layer gets peeled off…. which means they did a great practice run!
The gallery is below for my masking on the inside of the body.


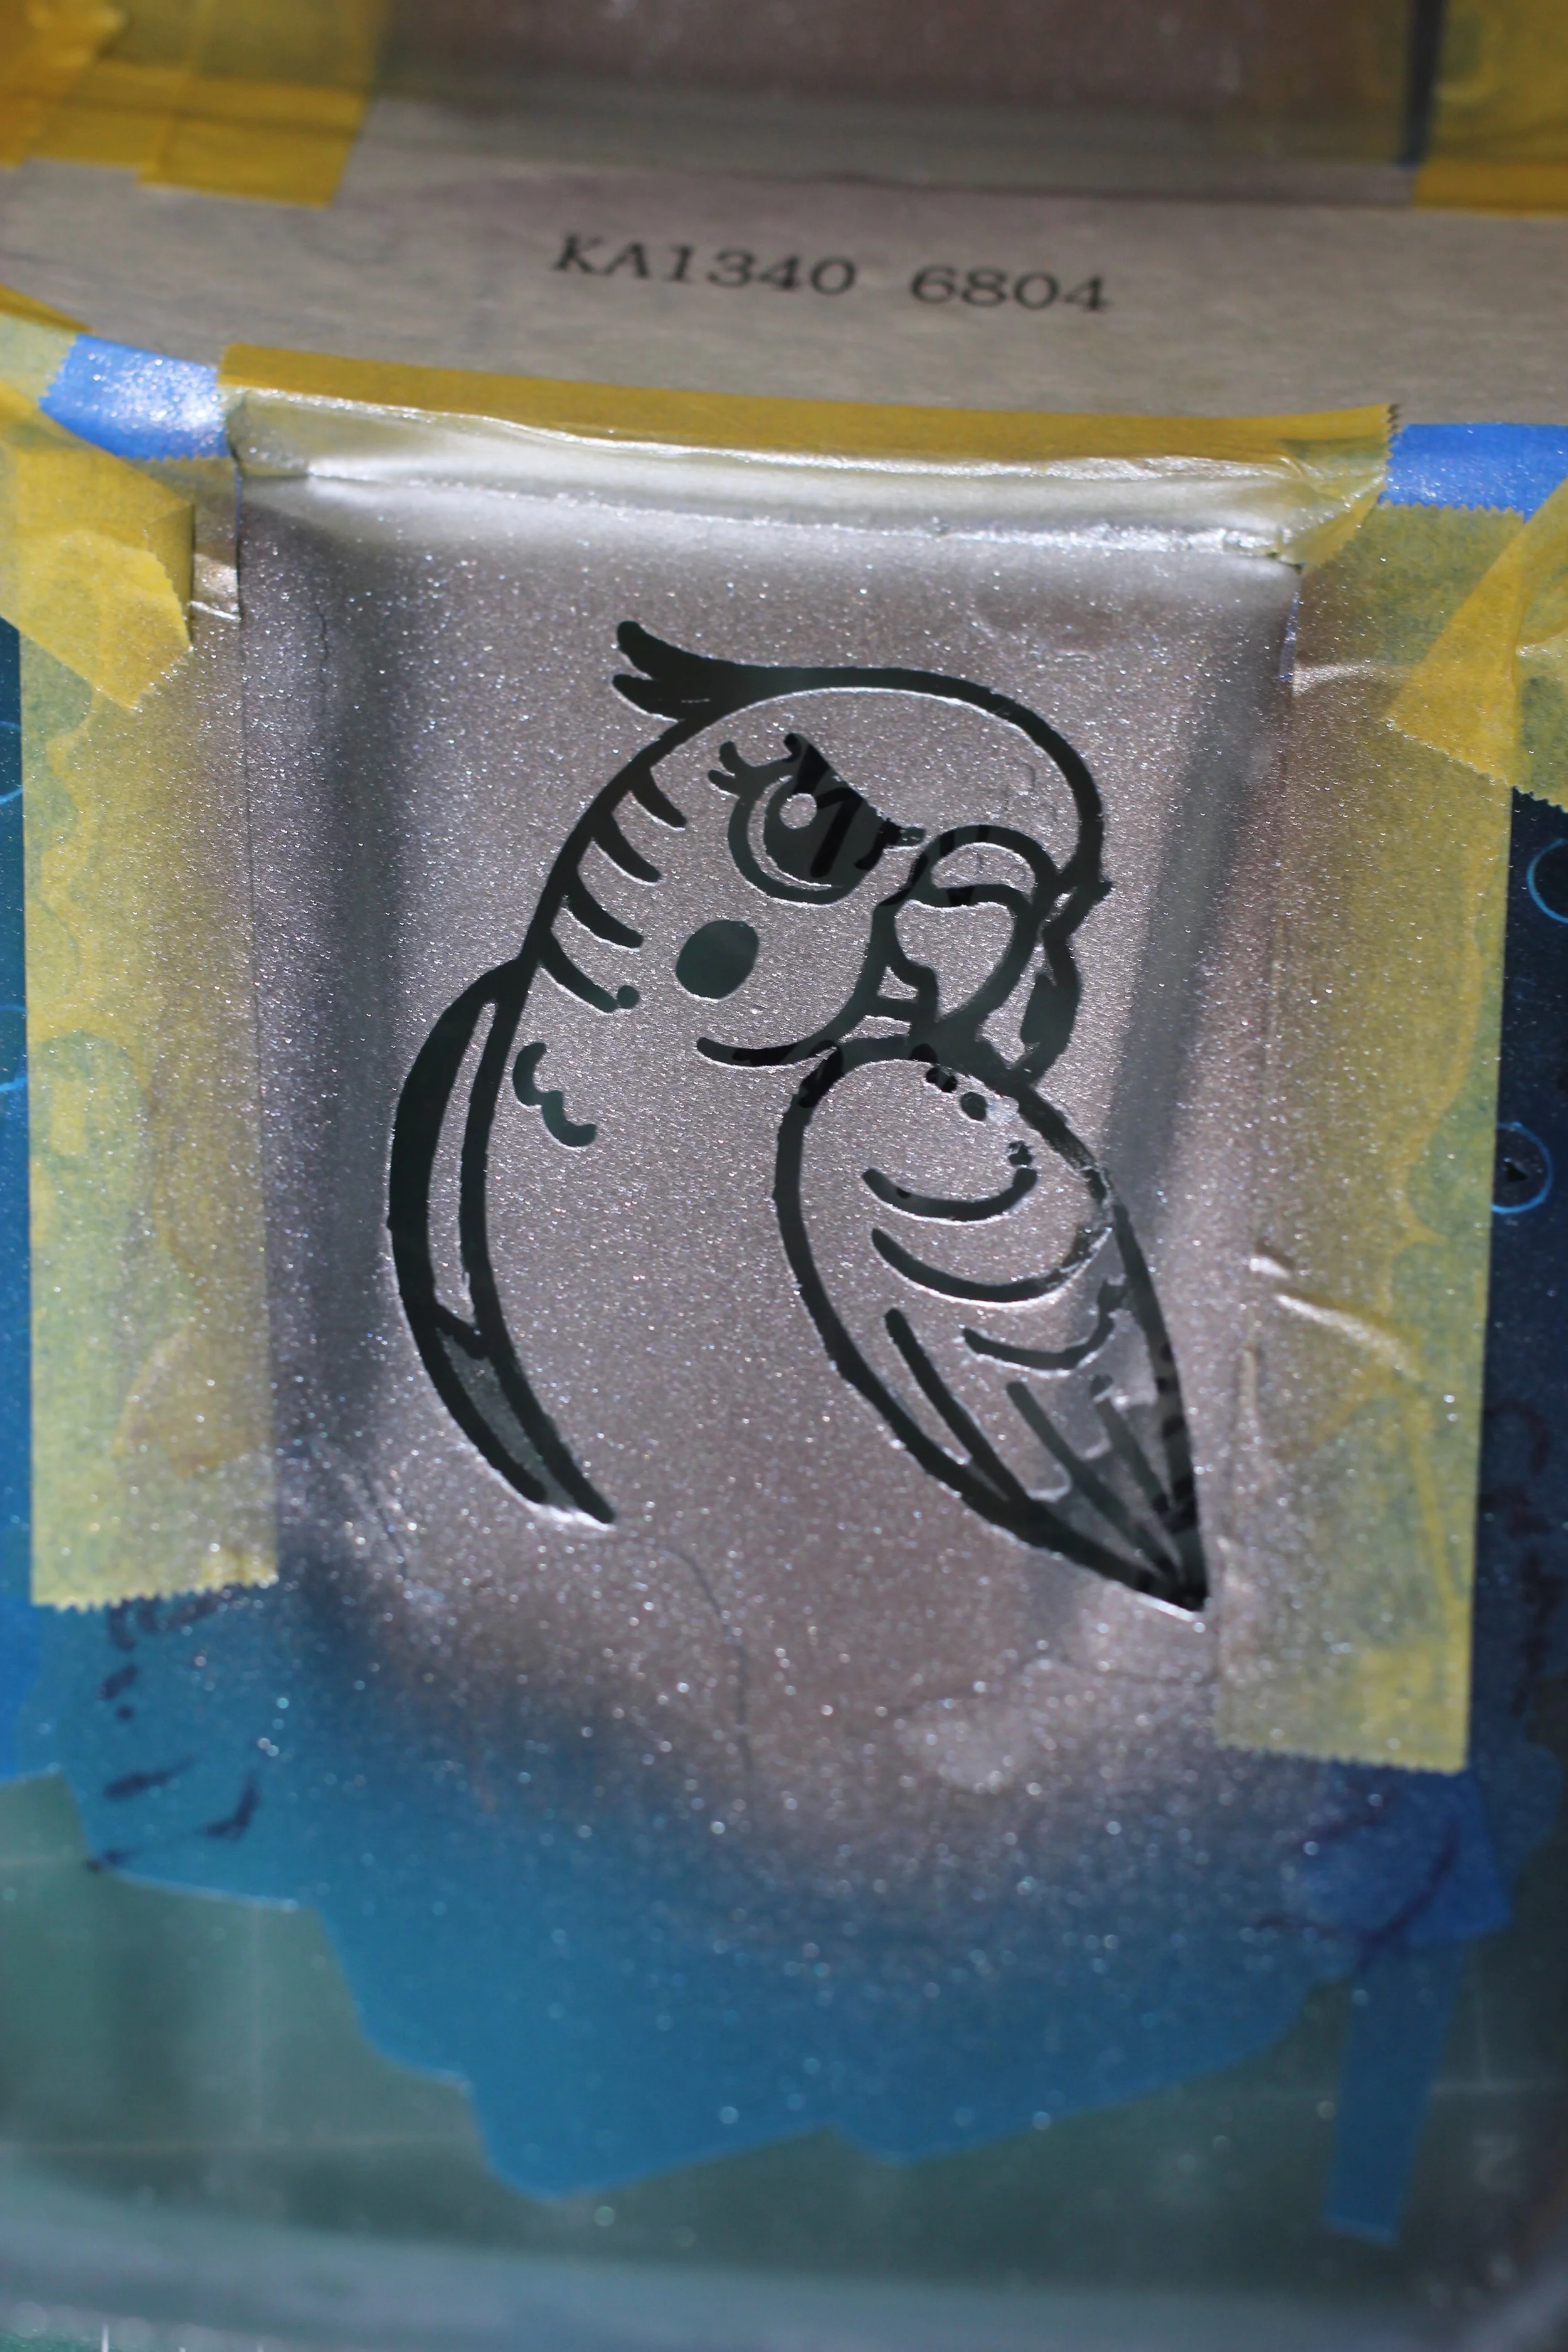
I have the marks drawn on the body to know where to cut the plastic for the nitro to breathe, and it is time to do some painting. My kids have parakeets because of allergies to dogs and cats. Unfortunately, they are not allergic to birds. I would recommend not buying your kids parakeets and they need a friend. So when one dies you end up at the pet store buying another one. That is just a side note from a dad with pet regret. Back on point…. we played around with different masks with ChatGPT. We got this outline of a bird, and so I decided to put it on the hood. I know it is not the screaming chicken or phoenix, but it is a subtle tribute to the Firebird with a bit of comedy. I also like how the parakeet shows a little bit of attitude.
First, I applied to mask to the hood.

Then I applied the chrome. This is left over from the Faskolor paints that I used to use. They are hard to find, and now I use the Pro-Line paints. Anyway, I decided to use up the chrome. The pic below is the underside of the truck. The front of the truck is on the bottom of the pic.
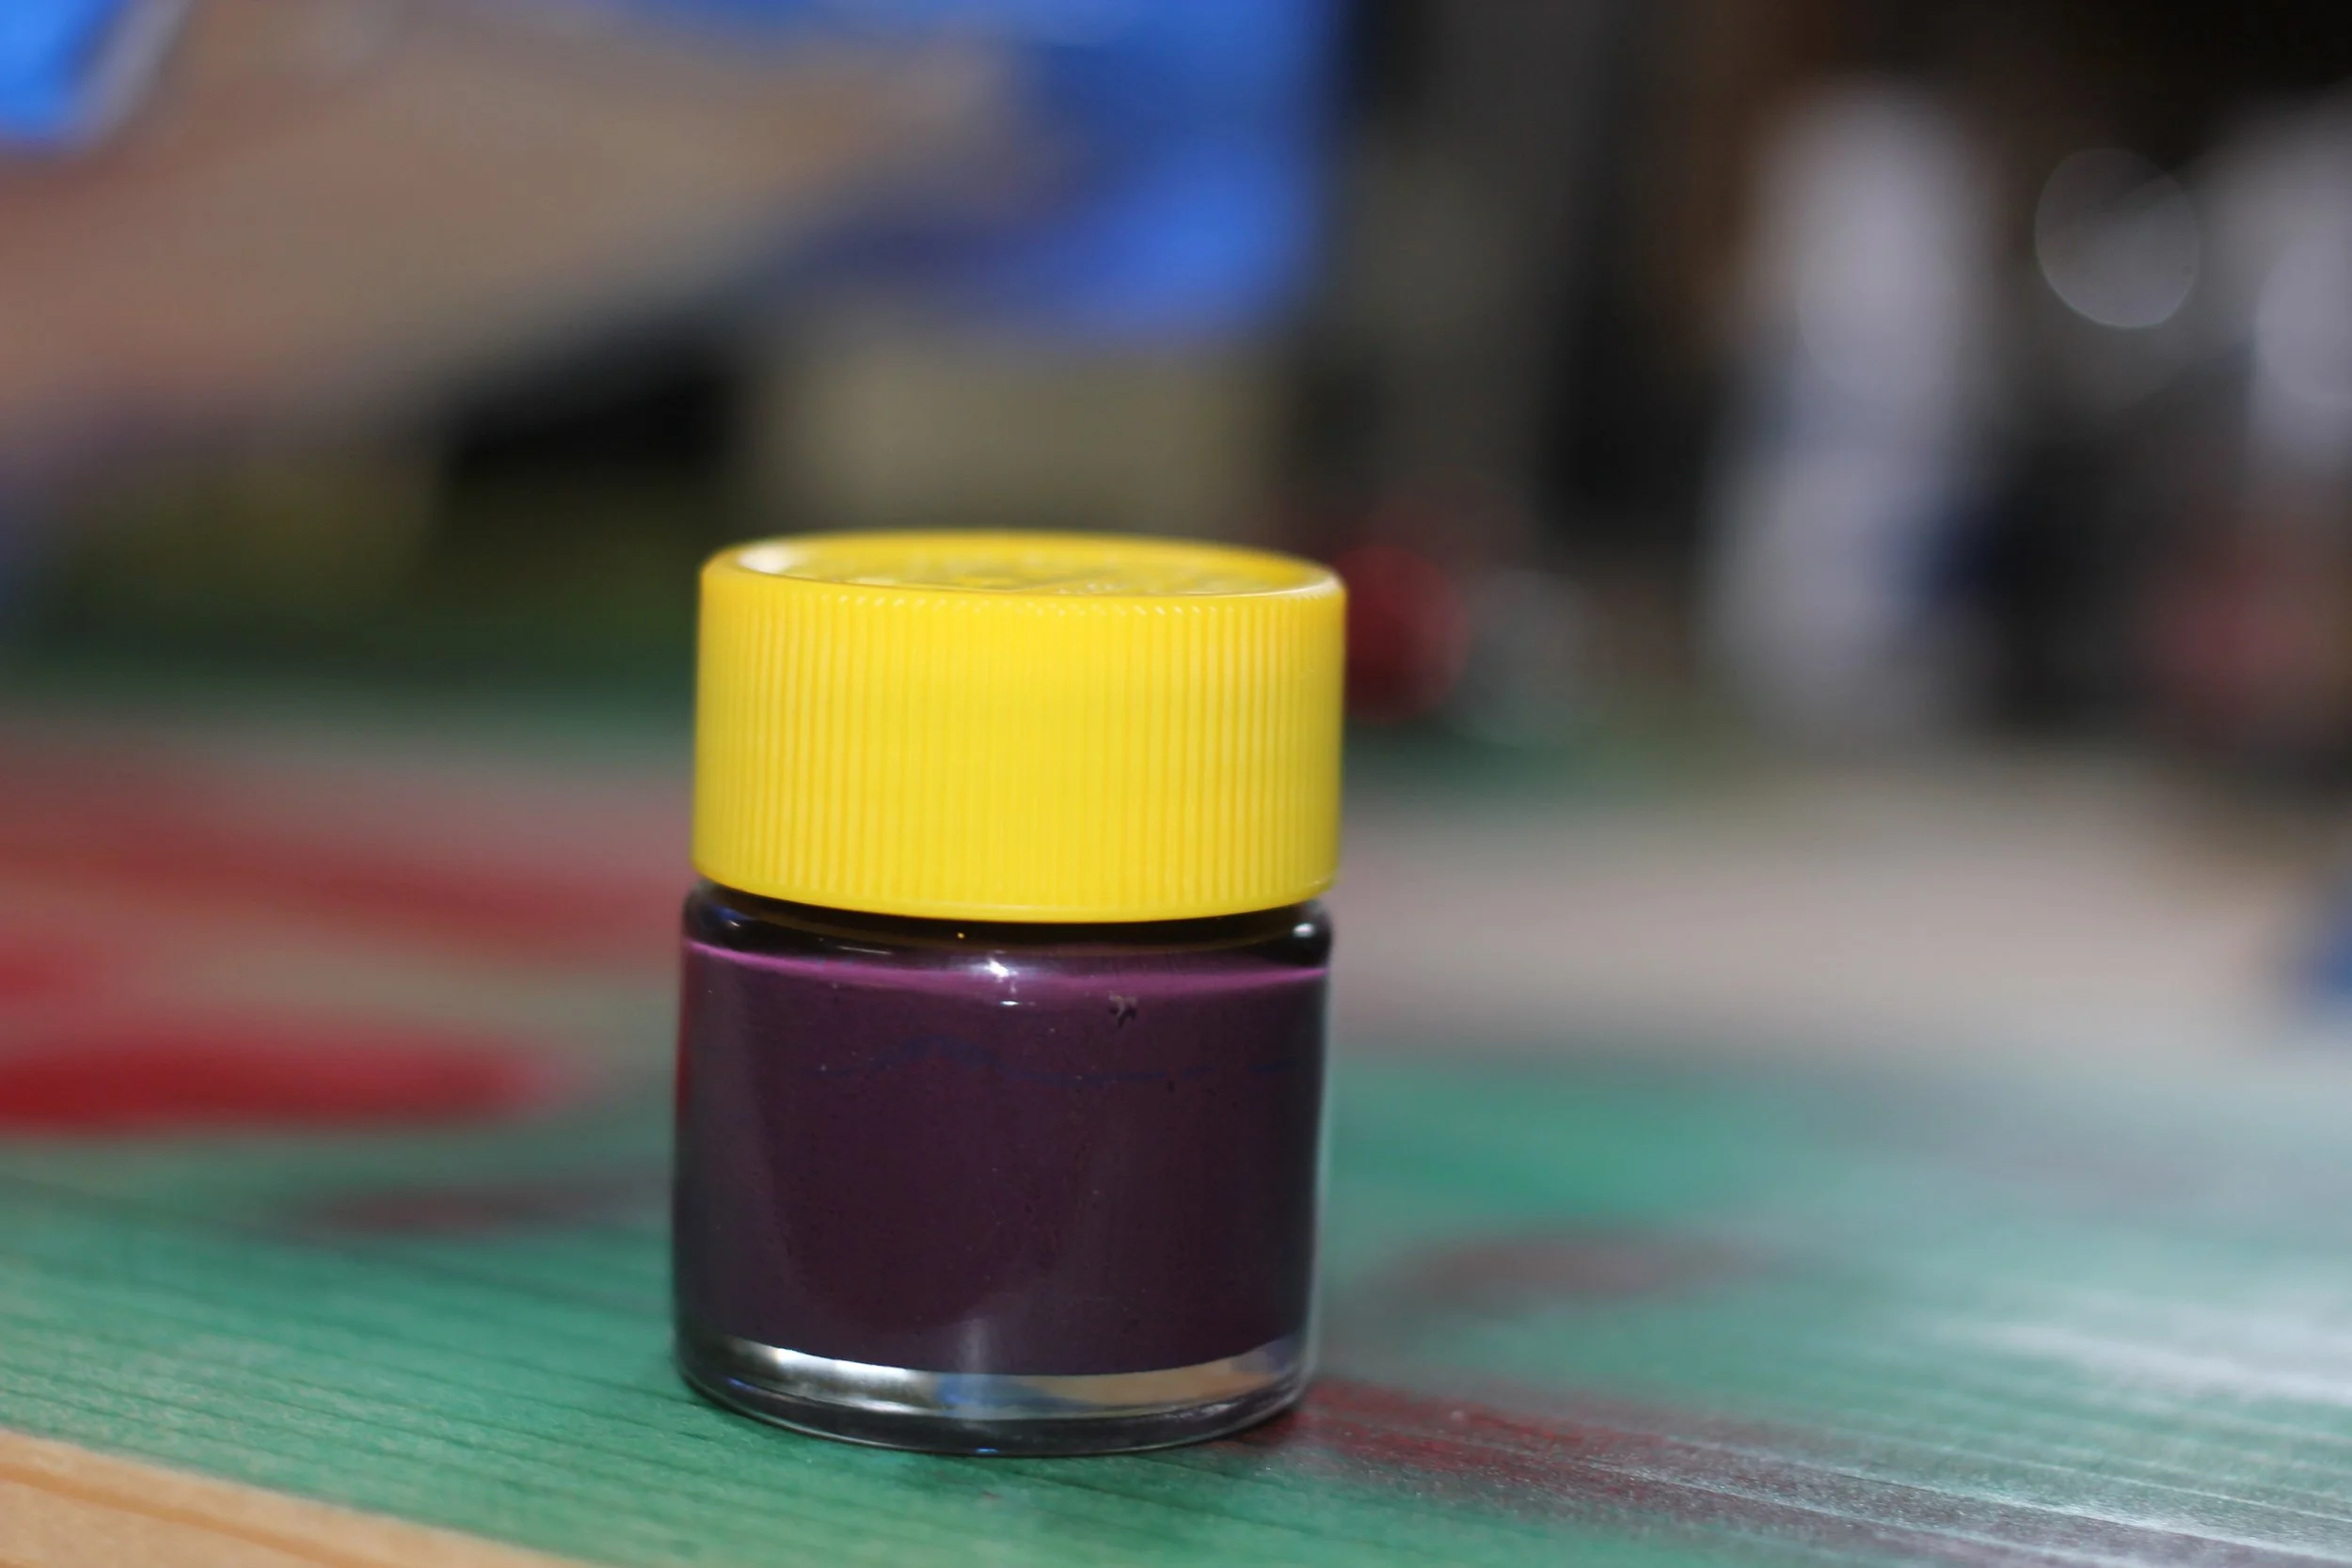
Then I mixed up some Pro-Line paints. I keep Tamiya paint bottles around that I use for models or different projects with the kids. I mixed blue and red until I got the shade I wanted. Unfortunately, it looks more black than purple on the truck, but the colors do improve when the protective layer is pulled off the top. I think I might use up some of the purple on the back of the truck, so it is green, black, chrome, and purple.
I finished painting the parakeet, and it looks pretty cool. Unfortunately, I rushed the timetable. This is not a good plan because the paint does not set up well. So, I pulled some of the chrome paint off while removing the mask. I should have done more heat gun, and given it more time to dry. See, you learn all these tips from my goofing up! The picture below is the mask removed so that the hood is ready for paint!
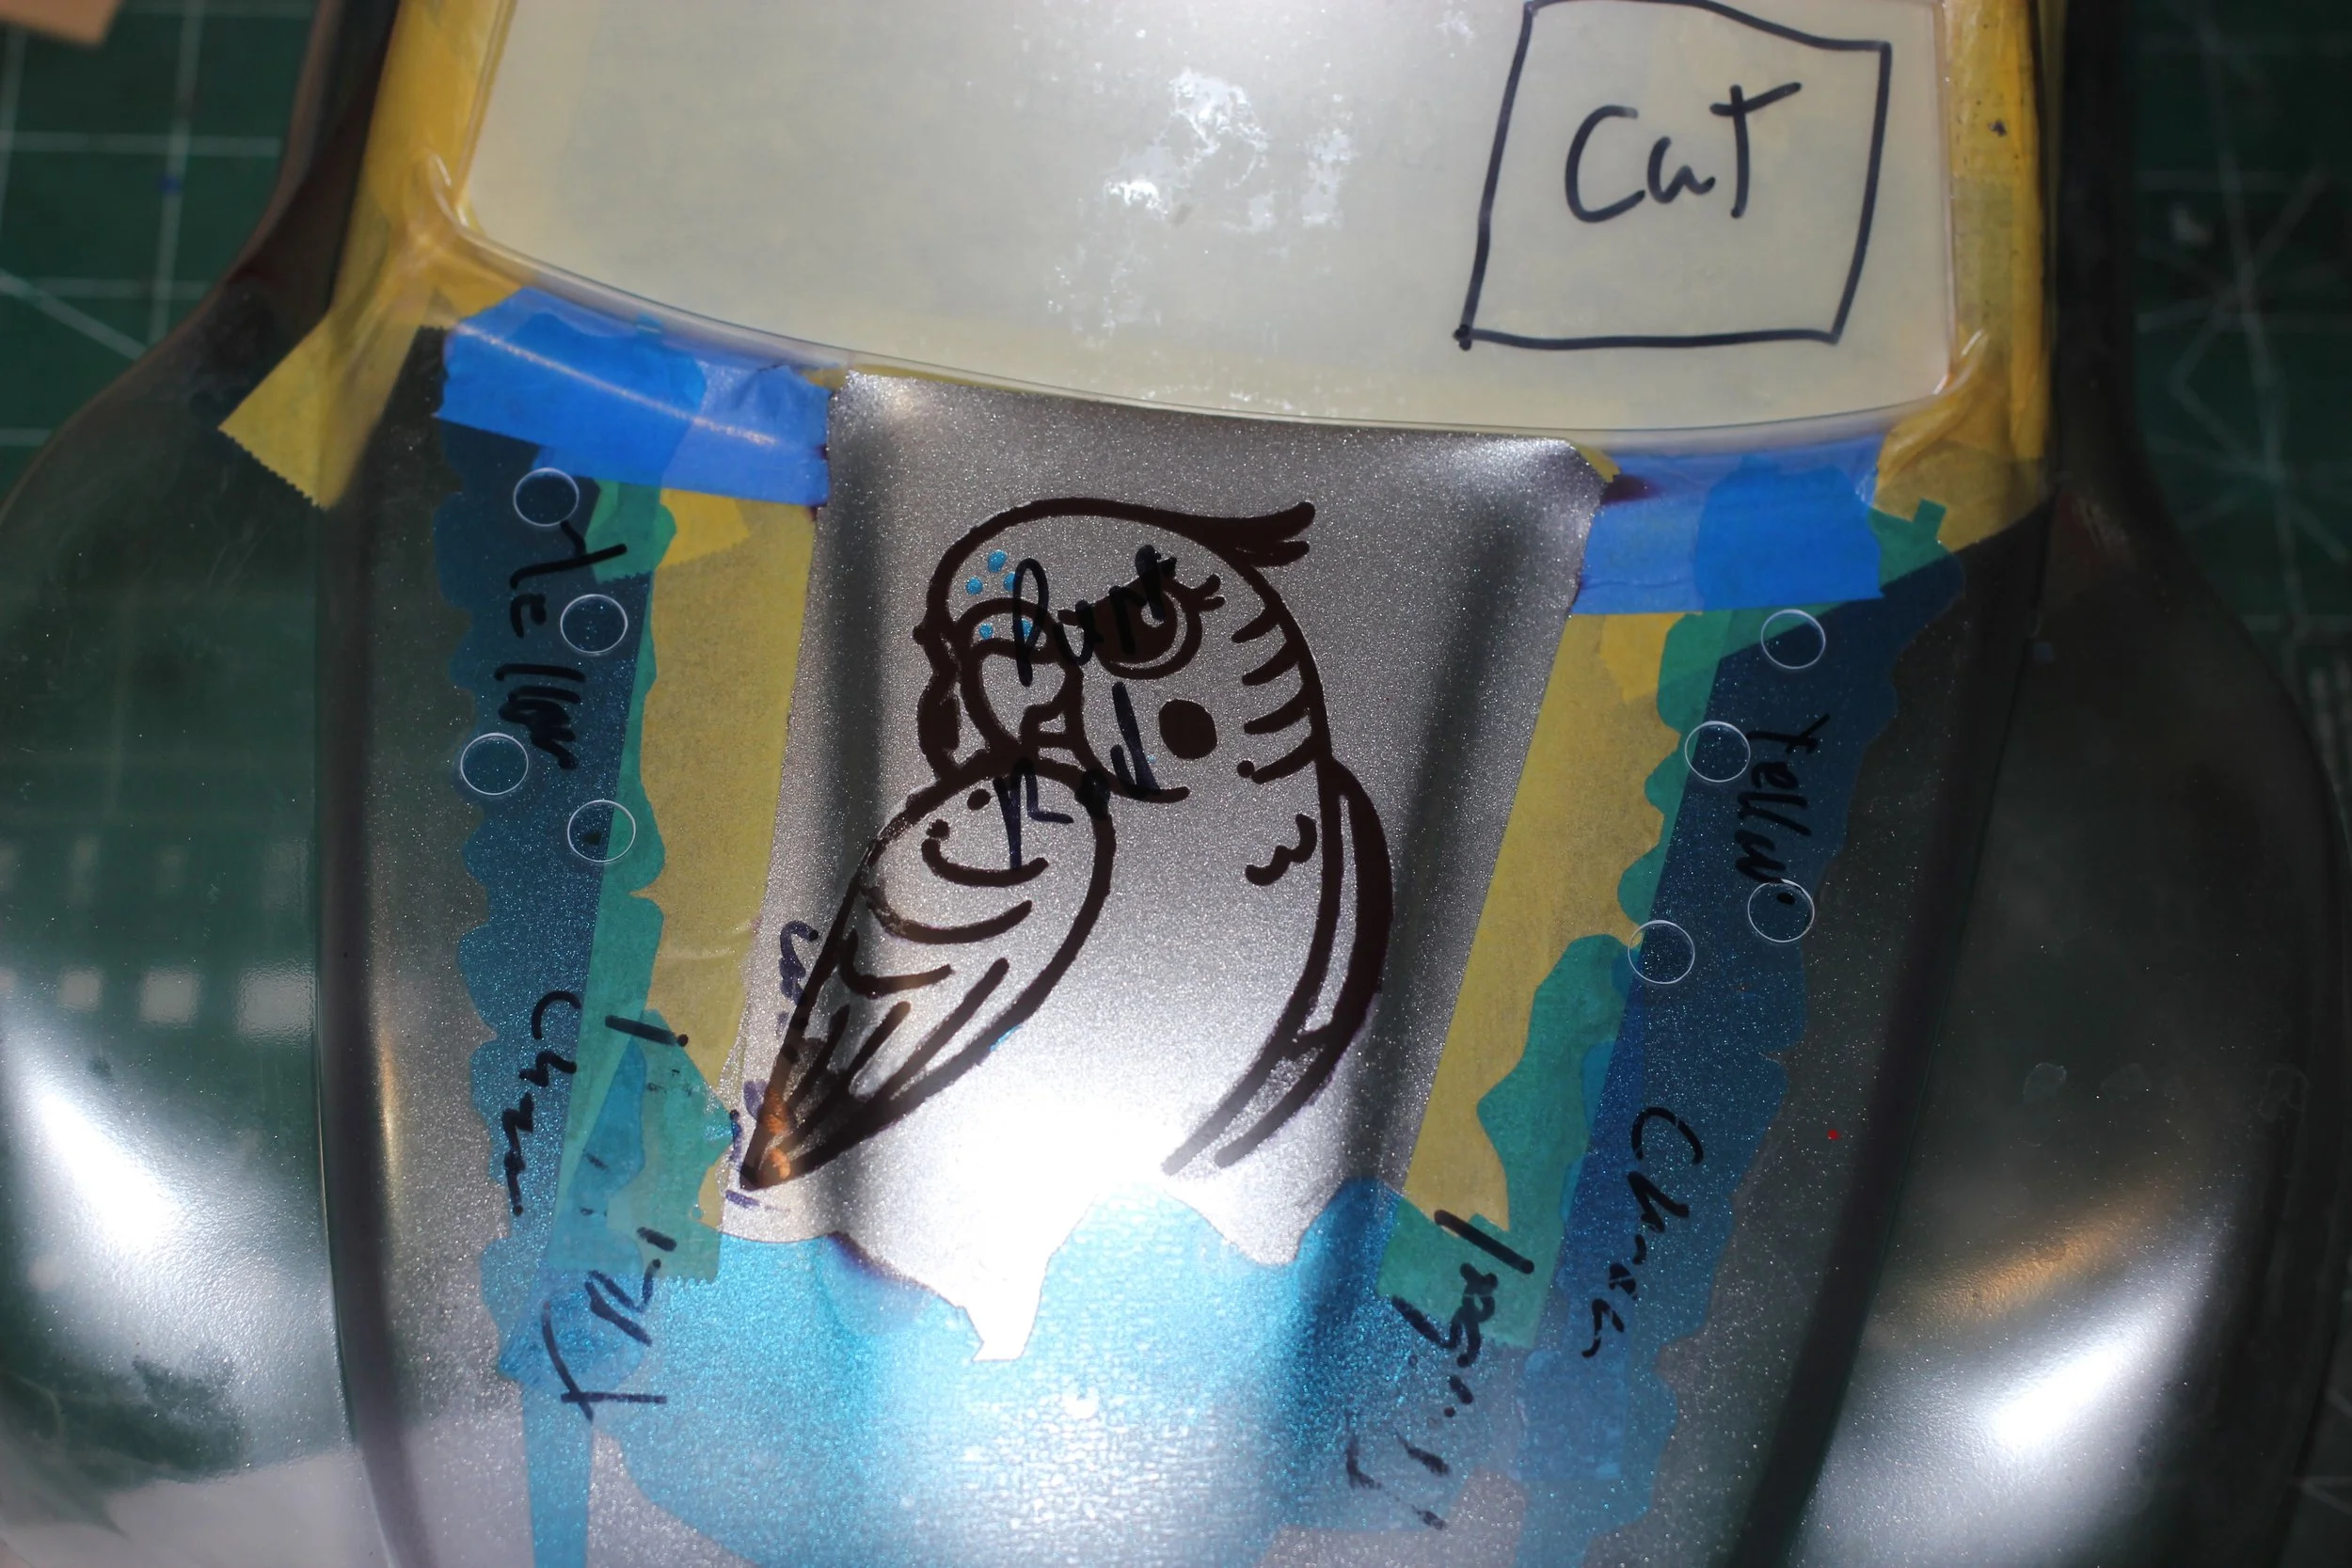
Here is the pic of the bird painted, and showing some attitude! You will see the blue dots that I need to dig out. They will be black.
I also realized that the Tamiya masking tape is AWESOME. I used some cheaper masking tape from ACE, and it did not cut the mustard. It does not make mustard for a sandwich while you work, and it does not hold back the overspray as much as I hoped. So, I am sticking to the Tamiya tape. It goes on easily, does a great job of sticking to the body, and is easily removed. It’s like a favorite pair of hiking socks minus the smell after a backpacking trip!
Conclusion
Paulie’s Picks on this project: (Amazon links give me kick backs)
1) Tamiya Masking Tape (Amain Hobbies)
2) Pro-Line Paint (Amain Hobbies)
(The vinyl and other material I am still using to make sure it is a full pick! I have some integrity…. well, it’s still there…hopefully you don’t have to look too deep to find it.)
Thank you again for reading! If you have special painting techniques that I missed post them in the comments. Let’s keep it constructive so we can all learn to do a better job! If you like this post why not buy me a coffee?
Until we meet again may the Lord’s blessing and peace be upon you!